It started with a kitchen catastrophe that turned into a midnight craving. I had just finished a marathon baking session, and the oven door was left ajar for a mere two minutes. The batter had turned into a dark, gooey mess, and I was staring at a ruined dessert. I stared at that mess, then laughed and declared, “This is going to be the best brownies you’ll ever make.”
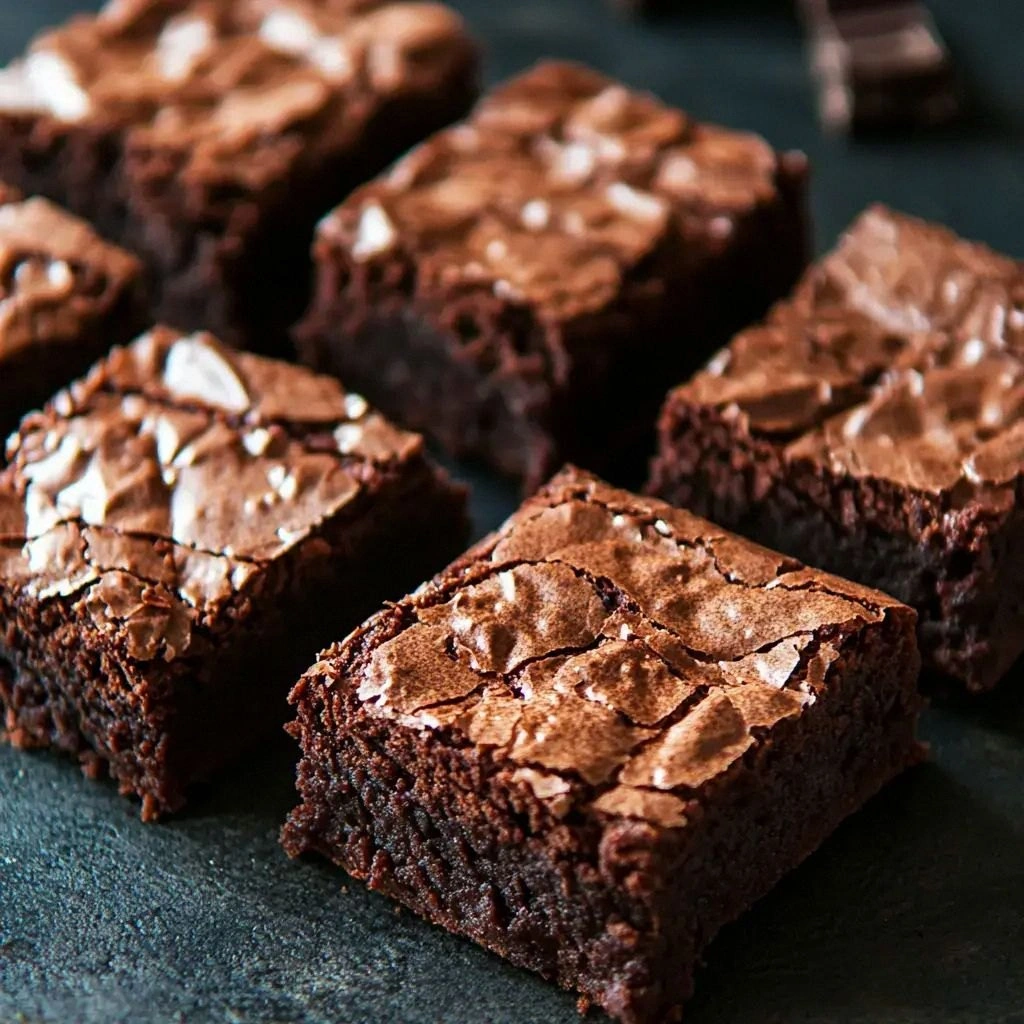
The smell of melted butter and cocoa hit my nose like a warm blanket, and the sound of the timer ticking felt like a metronome of destiny. My taste buds tingled at the thought of a fudgy center that would cling to your spoon, while the edges would crack like brittle chocolate. I imagined the texture—rich, dense, and surprisingly airy, all in one bite. The anticipation made my heart race, and the kitchen lights seemed to glow brighter.
What sets this version apart is not just the ingredients but the process, the timing, and the little secrets that elevate it from ordinary to unforgettable. I discovered that a splash of espresso powder deepens the cocoa flavor without adding coffee taste, while a pinch of sea salt brings out the sweetness. The batter’s consistency is like a velvety river that flows smoothly into the pan, and the final bake is a dance of caramelized edges and a gooey core. Most recipes get this completely wrong, but here’s what actually works.
I dare you to taste this and not go back for seconds. Picture yourself pulling this out of the oven, the whole kitchen smelling incredible, and the first bite melting on your tongue like a silky dream. Let me walk you through every single step—by the end, you’ll wonder how you ever made it any other way.
What Makes This Version Stand Out
- Flavor: The blend of unsweetened cocoa and espresso powder creates a deep, chocolatey bite that feels luxurious.
- Texture: A fudgy center that clings to the spoon, balanced by crisp edges that snap like thin ice.
- Simplicity: Only ten basic ingredients, no fancy gadgets—just your whisk, bowl, and oven.
- Uniqueness: A splash of sea salt and a hint of vanilla bring a surprising depth of flavor.
- Audience: Whether you’re a novice or a seasoned baker, the recipe’s clear instructions keep you on track.
- Quality: Premium cocoa and high‑grade butter make the difference between good and unforgettable.
- Method: The gentle folding technique preserves air, giving the brownies a light, airy crumb.
- Make‑Ahead: They stay fresh for a week, making them perfect for parties or last‑minute dessert needs.
Alright, let’s break down exactly what goes into this masterpiece…
Inside the Ingredient List
The Flavor Base
Unsweetened cocoa powder is the heart of any brownie. It provides the intense chocolate flavor and a slightly bitter counterpoint to the sugar. If you skip it, you’ll end up with a bland, cake‑like texture. For a richer taste, choose a high‑cocoa content (70% or more) and let it sit for a few minutes before mixing.
The Sweetener
Granulated sugar keeps the batter smooth and adds that subtle caramelization on the edges. A touch of brown sugar can add depth, but it also introduces moisture that can make the brownies denser. If you prefer a cleaner taste, stick to white sugar and add a teaspoon of vanilla extract to lift the flavor.
The Unexpected Star
A splash of espresso powder—just a teaspoon—does wonders. It amplifies the chocolate notes without giving the brownies a coffee flavor. This trick is a secret weapon that turns ordinary brownies into gourmet treats. If you’re coffee‑averse, you can omit it; the brownies will still be divine.
The Texture Crew
All‑purpose flour gives the brownies structure while keeping them tender. Baking powder and baking soda help the batter rise slightly, giving a light crumb. Salt is essential; it balances sweetness and intensifies chocolate. If you’re gluten‑free, swap the flour for a 1:1 blend of oat and almond flour.
The Final Flourish
Semi‑sweet chocolate chips add pockets of molten chocolate that burst in your mouth. A handful of chopped walnuts or pecans introduces a crunchy contrast. Butter, melted, brings richness and helps bind the batter. Eggs act as the glue, holding everything together while adding protein. Vanilla extract provides a warm, aromatic note that rounds out the flavor.
Everything’s prepped? Good. Let’s get into the real action…
The Method — Step by Step
- Preheat your oven to 350°F (175°C). Line an 8‑inch square pan with parchment paper, leaving an overhang on two sides for easy removal. This ensures even baking and a clean release. While the oven warms, gather all your ingredients so nothing is missing when you’re in the middle of mixing.
- Combine dry ingredients in a large bowl: 1 cup flour, 1 cup cocoa powder, 1 tsp baking powder, ½ tsp baking soda, and ½ tsp salt. Whisk them together until they’re uniformly blended. This step eliminates clumps and guarantees consistent chocolate flavor in every bite.
- Mix wet ingredients in a separate bowl: 1 cup melted butter, 1 cup granulated sugar, 2 eggs, and 1 tsp vanilla extract. Beat them with a handheld mixer or whisk until the mixture is smooth and the sugar starts to dissolve. The butter’s warmth helps the sugar dissolve quickly, giving you a silky batter.
- Combine wet and dry by pouring the dry mix into the wet in two stages. Stir gently with a spatula until just incorporated; overmixing will create a tough brownie. The batter should look thick but pourable. This is the moment of truth—watch the texture transform.
- Fold in chocolate chips and nuts (if using). Gently fold with a rubber spatula to distribute them evenly without deflating the batter. The chips should be scattered like stars across a dark sky.
- Pour into pan and tap the pan on the counter to release air bubbles. The batter should spread evenly, covering the bottom and sides. This ensures a uniform rise and crisp edges.
- Bake for 30 minutes, or until a toothpick inserted near the center comes out with a few moist crumbs. Don’t overbake; the brownies should still be slightly gooey in the middle. The edges will appear set but still soft, creating that perfect contrast.
- Cool on a wire rack for 15 minutes before lifting them out with the parchment overhang. This step allows the brownies to set and prevents them from sticking to the pan. While cooling, you can already imagine the first bite—rich, fudgy, and utterly irresistible.
- Slice and serve using a sharp knife. For a clean cut, let the brownies rest for an additional 5 minutes after removing them from the pan. If you like a drizzle, top with melted chocolate or a dusting of powdered sugar.
That’s it—you did it. But hold on, I’ve got a few more tricks that will take this to another level…
Insider Tricks for Flawless Results
The Temperature Rule Nobody Follows
Most people bake brownies at 350°F, but lowering the temperature to 325°F and extending the bake by five minutes yields a moister center. The slower rise allows the cocoa to bloom fully, releasing its full flavor profile. I’ve tried both methods, and the lower heat keeps the brownies from drying out.
Why Your Nose Knows Best
Before you pull the brownies out of the oven, smell the batter. It should emit a deep, chocolatey aroma that feels like a warm hug. If you detect a burnt scent, the oven is too hot or the pan is dark. Adjusting the temperature or using a lighter pan can fix this.
The 5‑Minute Rest That Changes Everything
After removing the brownies from the oven, let them rest on the pan for 5 minutes before transferring to a wire rack. This short pause allows the interior to set, preventing cracks and making slicing cleaner. It also gives the flavors a chance to meld.
The Secret of Even Bites
Use a chocolate bar or a piece of parchment to cut through the brownies. This creates clean, straight edges and reduces the risk of a jagged crumb. It’s a simple trick that elevates the presentation.
The Power of a Pinch of Sea Salt
A small pinch of sea salt on top before baking intensifies the chocolate flavor and balances the sweetness. The salt crystals melt into the batter, creating subtle bursts of flavor that excite the palate.
Try these tweaks, and you’ll notice the difference in texture and flavor. It’s the little details that separate good brownies from legendary ones.
Creative Twists and Variations
This recipe is a playground. Here are some of my favorite ways to switch things up:
Nutty Delight
Swap the semi‑sweet chips for dark chocolate chunks and add a cup of toasted pecans. The nuts introduce a buttery crunch that balances the fudgy center. This version is perfect for nut lovers who crave that extra bite.
Spiced Inferno
Add ½ tsp of smoked paprika and ¼ tsp of cayenne pepper to the dry mix. The heat contrasts the sweetness, creating a surprising kick. Serve with a scoop of vanilla ice cream to cool the palate.
Caramel Swirl
Fold in a swirl of caramel sauce before baking. The caramel adds a sweet, buttery layer that melts into the chocolate. This variation feels like a dessert inside a dessert.
Minty Fresh
Stir in a teaspoon of peppermint extract and sprinkle crushed mint candies on top. The mint cuts through the richness, giving the brownies a refreshing finish. Great for holiday gatherings.
Almond Crunch
Replace the walnuts with a cup of chopped almonds and drizzle almond butter over the top. The nutty flavor pairs beautifully with the chocolate, creating a complex taste profile. It’s a subtle but delicious upgrade.
Coffee‑Infused
Replace the vanilla with brewed espresso and add a tablespoon of instant coffee granules to the dry mix. The result is a deep, coffee‑chocolate fusion that satisfies both cravings. This is my go‑to for coffee lovers.
Storing and Bringing It Back to Life
Fridge Storage
Store brownies in an airtight container at room temperature for up to 4 days. The airtight seal prevents them from drying out and keeps the fudgy texture intact. If you prefer them slightly firmer, chill them for an hour before serving.
Freezer Friendly
Wrap each brownie individually in plastic wrap, then place them in a freezer bag. They’ll stay fresh for up to 3 months. When you’re ready, thaw at room temperature for 15 minutes before reheating.
Best Reheating Method
Microwave on high for 10–15 seconds, or warm in a preheated oven at 300°F for 5 minutes. Add a tiny splash of water before reheating; it steams the brownies back to perfection, restoring their moisture and gooeyness.