I was in the middle of a frantic Tuesday night when my roommate dared me to bake something that could survive a tornado and still taste like a hug from a grandma who moonlights as a chocolatier. I stared at the empty bowl, the half‑finished grocery list, and the lingering scent of burnt toast from my last attempt at oatmeal cookies. The kitchen was a battlefield of mismatched measuring cups, a rogue whisk, and a fridge that sounded like a low‑rumble train. I felt the familiar mix of panic and excitement, the kind that makes your heart thump louder than the oven timer.
I grabbed a bag of dark chocolate chips, the kind that melt like midnight silk, and a tub of butter that was still a little cold, because I knew that contrast would be the secret weapon. I could already hear the sizzle of butter hitting the pan, the soft whisper of flour as it cascaded into the bowl, and the faint pop of sugar crystals breaking apart. My nose caught a whiff of vanilla, sweet and earthy, promising a flavor depth that would make even the most seasoned bakers weep with joy. My hands, slick with butter, felt the dough’s weight as if it were a living thing, begging to be coaxed into the perfect, buttery, chocolate‑laden masterpiece.
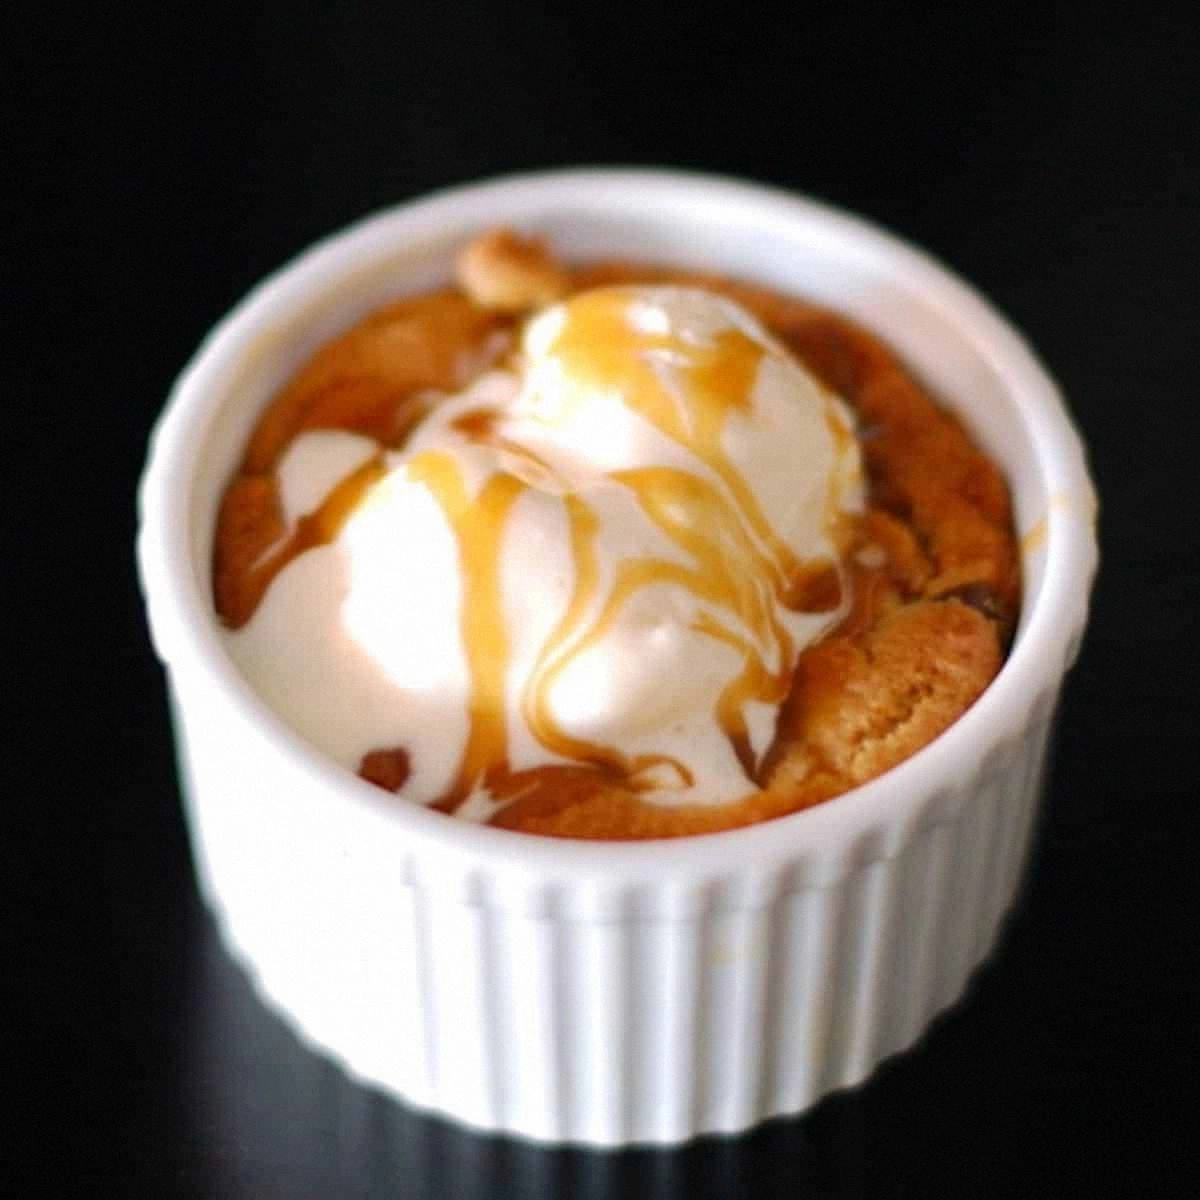
Most cookie recipes out there treat the deep‑dish version like an afterthought, ending up with a soggy center or a crust that crumbles like old parchment. I decided to flip the script, turning the deep dish into a towering, soft‑centered, caramel‑kissed marvel that holds its shape like a well‑crafted brick yet crumbles at the slightest pressure. The secret? A precise balance of melted butter, a splash of brown sugar for that caramel note, and a dash of cornstarch that creates a tender crumb without sacrificing that coveted chew.
But here’s the kicker: I’m going to throw in a pinch of espresso powder that amplifies the chocolate without making it taste coffee‑y, and a splash of heavy cream that turns the dough into a silky canvas for those chocolate chips to dive into. I dare you to taste this and not go back for seconds. Let me walk you through every single step — by the end, you’ll wonder how you ever made it any other way.
What Makes This Version Stand Out
- Chewy Core: The combination of melted butter and a touch of cornstarch creates a dough that stays soft in the middle, like a warm hug that never lets go.
- Caramel Depth: Brown sugar isn’t just sweet; it adds a toasty, almost smoky undertone that makes each bite feel like a mini celebration.
- Chocolate Amplifier: Espresso powder intensifies the chocolate flavor without turning the cookies into a coffee‑cake hybrid.
- Easy Scaling: The recipe is built around a simple 4‑serving base, but the built‑in serving adjuster lets you multiply or halve with zero fuss.
- Crowd‑Pleaser: Even the pickiest eaters can’t resist the buttery aroma that fills the kitchen as they bake, making it the ultimate party starter.
- Make‑Ahead Magic: These cookies keep their texture for days, and a quick reheating brings them back to life like they just left the oven.
- Ingredient Quality: Using high‑fat butter and premium dark chocolate chips ensures every bite feels luxurious, not just sugary.
- Simple Technique: No fancy equipment, just a whisk, a sturdy bowl, and a willingness to trust your instincts.
Inside the Ingredient List
The Flavor Base
All‑purpose flour (2 cups) forms the structural backbone, providing that sturdy yet tender crumb we crave. If you swapped it for cake flour, the cookies would become airy and fragile, losing the dense, indulgent feel. Look for a flour that feels heavy in your hand; it usually indicates a higher protein content, which is perfect for a deep‑dish cookie.
Unsalted butter (1 cup, softened) is the soul of the cookie. The butter’s fat content creates that melt‑in‑your‑mouth sensation and carries the chocolate’s richness. If you use salted butter, you’ll need to cut back on the added salt to avoid an over‑salty bite.
Brown sugar (1 cup, packed) introduces caramel notes and moisture, ensuring the center stays soft. White granulated sugar (½ cup) adds a subtle crunch on the edges, balancing the chewiness. Skipping the brown sugar will give you a cookie that’s too crisp, while omitting the white sugar removes that satisfying snap.
The Texture Crew
Eggs (2 large) act as emulsifiers, binding the butter and sugars while adding lift. Over‑beating can incorporate too much air, leading to a cakey texture, so mix until just combined. For a richer flavor, you can replace one egg with an extra yolk, but keep the total volume the same.
Cornstarch (2 tbsp) is the secret weapon that makes the interior plush and prevents the gluten from becoming too tough. If you’re out of cornstarch, substitute with an equal amount of potato starch; the result will be almost identical.
Baking soda (1 tsp) provides the leavening needed for a gentle rise, creating those airy pockets that keep the cookie from feeling dense. Too much soda will give you a metallic aftertaste, so measure precisely.
The Unexpected Star
Espresso powder (½ tsp) may sound daring, but it’s a flavor enhancer that deepens the chocolate profile without adding a coffee flavor. If you’re not a coffee fan, you can omit it, though the chocolate won’t sing quite as loudly.
Vanilla extract (2 tsp) adds aromatic warmth, rounding out the overall flavor. Use pure vanilla for the best result; imitation extracts can taste harsh when baked for longer periods.
The Final Flourish
Dark chocolate chips (2 cups) are the stars, delivering pockets of molten bliss. Choose chips with at least 60% cacao for a balanced sweet‑bitter profile. If you prefer a sweeter bite, mix half milk chocolate chips with the dark ones, but keep the total volume the same.
Salt (1 tsp) accentuates every sweet note, pulling the flavors together. Sea salt flakes sprinkled on top before baking add a delightful crunch and a surprise burst of flavor. If you’re watching sodium, you can reduce to ½ tsp, but don’t skip it entirely.
Everything's prepped? Good. Let's get into the real action…
The Method — Step by Step
Preheat your oven to 350°F (175°C) and line a large, sturdy baking sheet with parchment paper. This temperature is the sweet spot that allows the edges to set while the center stays gooey. As the oven warms, you’ll hear the faint hum of the fan, a reassuring reminder that the magic is about to begin.
In a medium bowl, whisk together the flour, baking soda, cornstarch, and salt. The dry mixture should look like a fine, snow‑like powder. This step ensures even distribution of leavening agents, preventing pockets of bitterness.
In a separate large bowl, beat the softened butter with the brown and white sugars until the mixture is light, fluffy, and a pale caramel color. This should take about 3‑4 minutes on medium speed. The scent will fill the kitchen, a buttery perfume that says “good things are coming.”
Kitchen Hack: Scrape the sides of the bowl with a rubber spatula halfway through beating to ensure every speck of butter is incorporated.Add the eggs one at a time, beating just until each is fully incorporated before adding the next. Follow with the vanilla extract and espresso powder, giving the mixture a final stir. You’ll notice the batter thickening slightly, a sign that the emulsifiers are doing their job.
Gradually fold the dry ingredients into the wet mixture using a wooden spoon or silicone spatula. Stop mixing as soon as the flour disappears; over‑mixing will develop gluten and make the cookie tough. The dough should look slightly shaggy but cohesive.
Stir in the chocolate chips until they’re evenly distributed, like tiny, dark islands in a buttery sea. If you want pockets of extra melty chocolate, reserve a handful of chips to press on top just before baking.
Watch Out: Adding too many chips can cause the dough to become overly sticky; if that happens, sprinkle a tablespoon of flour onto the work surface before shaping.Cover the bowl with plastic wrap and refrigerate the dough for at least 30 minutes. This chilling step solidifies the butter, ensuring the cookies keep their shape and don’t spread too thin. While you wait, picture the moment you pull the golden‑brown edges from the oven, the whole kitchen smelling like a chocolate factory.
After chilling, scoop out generous ½‑cup portions of dough and place them on the prepared baking sheet, spacing them about 3 inches apart. Press each mound lightly with the back of a spoon to flatten just a touch; the dough will spread on its own.
Kitchen Hack: Use a cookie scoop (size #20) for uniform portions, guaranteeing even baking.Bake for 12‑15 minutes, or until the edges turn a deep golden brown and the tops have a slight crackle. The centers will still look soft; that’s the sign of a perfect chewy interior. Resist the urge to open the oven door early—every peek releases heat and can cause uneven rising.
Allow the cookies to cool on the sheet for 5 minutes before transferring them to a wire rack. As they cool, the edges will firm up while the middle remains tender. This is the moment of truth—taste one while still warm and feel the chocolate melt like a midnight river.
That's it — you did it. But hold on, I've got a few more tricks that'll take this to another level...
Insider Tricks for Flawless Results
The Temperature Rule Nobody Follows
Always start with butter at room temperature, not melted. Melted butter makes the dough spread too quickly, resulting in thin, crispy edges. By keeping the butter soft, you preserve tiny air pockets that expand during baking, giving you that coveted puffed‑up center. I once tried the melted route and ended up with cookie “pancakes” — a lesson learned the hard way.
Why Your Nose Knows Best
When the dough hits the oven, listen for a subtle “sizzle” as the butter begins to caramelize. That sound signals the sugars are breaking down, creating the deep, toasty notes we love. If you hear a loud crack, the oven is too hot and the cookies will burn on the outside before the center sets. Trust that aromatic cue; it’s more reliable than any timer.
The 5‑Minute Rest That Changes Everything
After baking, let the cookies rest on the sheet for exactly five minutes. This short pause allows the residual heat to finish the cooking process gently, preventing a gummy center. Skipping this step often leaves the middle too soft, almost doughy, which can be disappointing for those expecting a firm bite.
Chocolate Chip Distribution Mastery
Instead of tossing all the chips in at once, fold half in, bake, then sprinkle the remaining chips on top during the last two minutes of baking. This creates a glossy, semi‑melted top layer that looks like a chocolate glaze, adding visual appeal and an extra burst of flavor.
The Cool‑Down Flip
If you’re in a hurry, you can flip the cookies onto a second wire rack after the initial 5‑minute rest. This speeds up cooling and keeps the bottoms from becoming soggy from steam. I’ve done this for a brunch crowd and the cookies stayed crisp on the edges while staying soft inside.
Creative Twists and Variations
This recipe is a playground. Here are some of my favorite ways to switch things up:
Salted Caramel Swirl
Add ¼ cup of caramel sauce to the dough and sprinkle flaky sea salt on top before baking. The caramel adds a buttery richness while the salt creates a delightful contrast, perfect for those who love sweet‑and‑salty combos.
Nutty Crunch
Fold in ½ cup of toasted pecans or walnuts. The nuts introduce a crunchy texture that balances the soft interior, and the toasted flavor deepens the overall complexity.
White Chocolate & Raspberry
Swap half the dark chocolate chips for white chocolate chips and fold in ¼ cup of freeze‑dried raspberry pieces. The tartness of the berries cuts through the sweetness, creating a sophisticated flavor profile.
Spiced Chai
Add ½ tsp of ground cinnamon, ¼ tsp of ground ginger, and a pinch of cardamom to the dry ingredients. The warm spices turn the cookie into a cozy, autumn‑ready treat without any extra effort.
Double‑Chocolate Delight
Replace half the flour with unsweetened cocoa powder and increase the chocolate chips to 2½ cups. The result is a richer, more intense chocolate experience that will satisfy even the most devoted chocoholics.
Storing and Bringing It Back to Life
Fridge Storage
Place the cooled cookies in an airtight container with a slice of bread on top. The bread releases moisture, keeping the cookies soft for up to 5 days. If you notice the cookies drying out, replace the bread slice.
Freezer Friendly
Wrap each cookie individually in parchment paper, then seal them in a zip‑top freezer bag. They’ll stay fresh for up to 3 months. When you’re ready to enjoy one, let it sit at room temperature for 10 minutes or pop it in a 300°F oven for 5 minutes.
Best Reheating Method
To revive a day‑old cookie, place it on a microwave‑safe plate, add a tiny splash (about 1 tsp) of water beside it, and microwave for 10‑12 seconds. The steam generated restores that melt‑in‑your‑mouth texture, making it taste like it just left the oven.