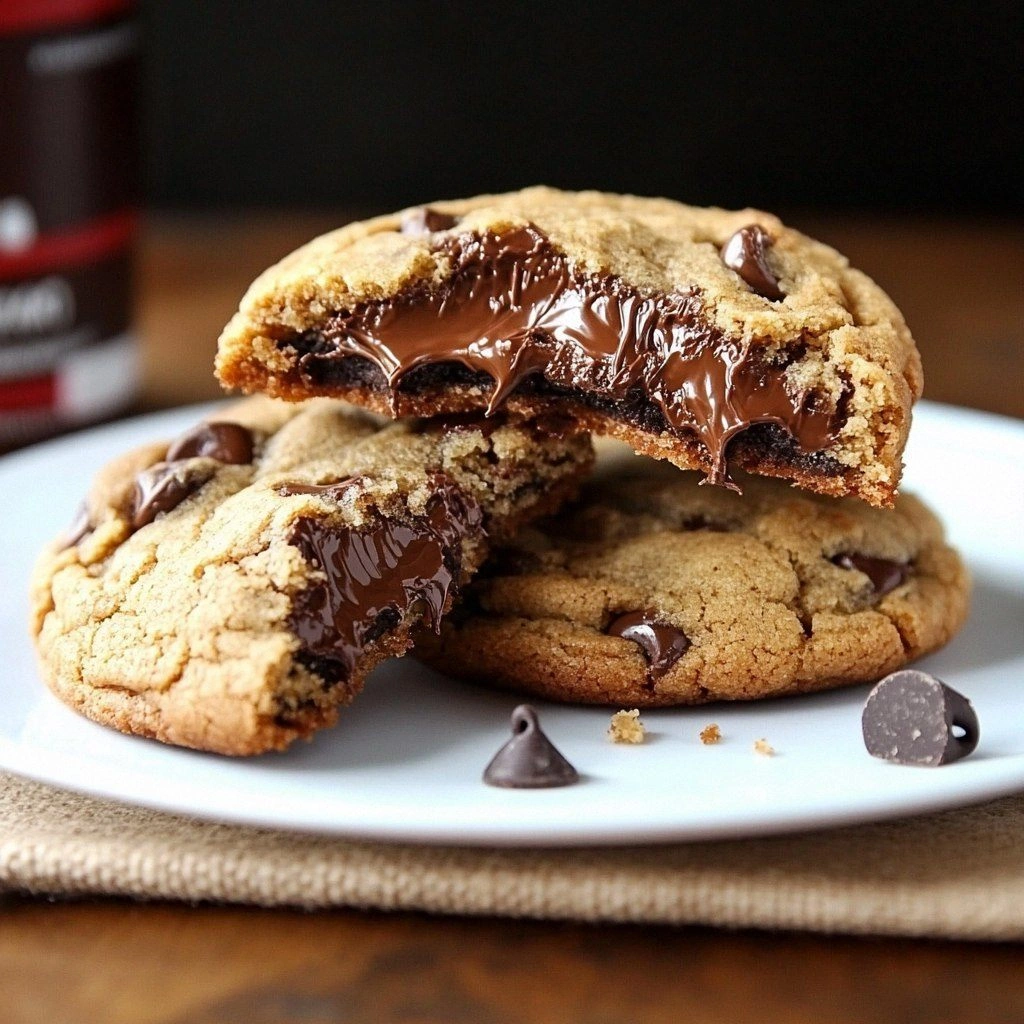
Picture this: a frantic Saturday morning, the clock ticking toward a brunch deadline, and a half‑baked cookie sheet that looks like a crime scene. I stared at the dough, realizing it was the wrong recipe—too sweet, too crumbly, and frankly, a culinary flop. That night, I swore to myself I’d never again trust a lemon‑cream cheese bar that tasted like a sad puddle of citrus. The result? A buttery, crisp base that practically melts in your mouth, topped with a silky filling that sings with fresh lemon and cream cheese. This is the definitive version of a dessert that turns ordinary ingredients into a show‑stopping treat.
I’m not just talking about any lemon bars; I’m talking about a recipe that balances sweetness, acidity, and richness in a way that makes every bite a revelation. The crust is a dance of flour and sugar, with a whisper of salt that elevates the butter’s flavor. The filling, on the other hand, is a velvety blend of cream cheese, eggs, and fresh‑squeezed lemon juice that coats the palate like velvet. When you bite, the crust shatters like thin ice, revealing the luscious filling that lingers with a bright, citrusy aftertaste. I dare you to taste this and not go back for seconds.
What sets this version apart is not just the flavor but the technique. I’ve perfected a method that keeps the bars tender yet firm, with a golden edge that’s both crunchy and caramelized. The key is in the layering—first, a buttery crust that’s pressed flat and baked to a perfect golden brown, then a silky filling that sets without overcooking. The result is a bar that’s as beautiful to look at as it is delicious to eat. If you’ve ever struggled with lemon bars that come out too dry or too runny, you’re not alone—and I’ve got the fix.
The moment you open the oven door, the kitchen is filled with an aroma that says, “I’m ready for brunch.” The scent of butter and sugar mingles with the sharp citrus of fresh lemon, creating a sensory snapshot that’s impossible to resist. Imagine the sizzle as the crust hits the pan—absolute perfection. And when you take the first bite, the creamy filling explodes with bright lemon tang, balanced by the subtle richness of cream cheese. Picture yourself pulling this out of the oven, the whole kitchen smelling incredible, and knowing you’ve just made the best version you’ll ever make at home.
What Makes This Version Stand Out
- Flavor: The bright lemon is balanced by the rich cream cheese, creating a harmonious sweet‑sour profile that sings on the tongue.
- Texture: A buttery, crisp crust meets a silky, set filling—each bite offers a contrast that feels indulgent yet light.
- Ease: The method requires no fancy equipment; a simple 9×13 pan and a few kitchen staples are all you need.
- Visual Appeal: The bars finish with a glossy, powdered‑sugar dust that glistens like a fine dusting of snow.
- Make‑Ahead: These bars stay fresh for up to a week in the fridge and can be frozen for months.
- Versatility: The base can be swapped for a nut‑crusted crust, and the filling can be spiced for a holiday twist.
Alright, let’s break down exactly what goes into this masterpiece. I’ll walk you through each ingredient, why it matters, and how to tweak it to suit your taste.
Inside the Ingredient List
The Flavor Base
The first layer is the crust, where butter, sugar, and flour mingle like old friends at a reunion. The butter is the backbone of the flavor, providing a rich, buttery aroma that permeates the entire bar. If you use room‑temperature butter, it will blend smoothly, creating a uniform crumb that’s easy to press into the pan. Skipping the butter would leave the crust dry and crumbly, ruining the bite that should be crisp yet tender.
The Texture Crew
Next up, the filling. Cream cheese is the star, offering a creamy, slightly tangy base that balances the sharpness of lemon. Eggs act as the binder, giving the filling structure while keeping it silky when baked. The vanilla adds depth, preventing the lemon from feeling too sharp and giving a subtle warmth. Without eggs, the filling would be too runny; without vanilla, it would taste flat.
The Unexpected Star
Fresh‑squeezed lemon juice is the secret weapon. It’s the difference between a bland, canned lemon flavor and a vibrant, bright zing that wakes up your taste buds. The amount—just three‑quarters of a cup—provides enough acidity to cut through the richness without overpowering. If you’re using bottled lemon juice, be careful; it can be more acidic and might require a touch less sugar to balance.
The Final Flourish
The finishing touch is powdered sugar, dusted lightly over the bars once they’ve cooled. This simple step adds a sweet, slightly crunchy finish that elevates the overall experience. Powdered sugar also gives the bars a glossy, professional look that’s perfect for serving at brunch or a party. If you prefer a less sweet finish, you can reduce the powdered sugar to a light dusting.
Everything’s prepped? Good. Let’s get into the real action.

The Method — Step by Step
- Preheat your oven to 350°F (175°C). Line a 9×13‑inch baking pan with parchment paper, leaving a small overhang for easy lifting later. The parchment ensures a clean release and a perfectly even crust. I love to let the pan sit in the oven for a few minutes to preheat the surface, which helps the crust brown beautifully.
- In a medium bowl, combine 2 cups all‑purpose flour, 0.5 cups granulated sugar, and 0.5 teaspoon salt. Whisk them together until fully blended, then add 1 cup cold butter cut into small cubes. Using a pastry cutter or your fingertips, press the butter into the dry mixture until it resembles coarse crumbs. The goal is a crumbly texture that will hold together when pressed.
- Press the crumb mixture firmly into the bottom of the prepared pan, forming an even layer. Use the back of a spoon or a flat-bottomed glass to smooth it out. A tight, even crust is crucial for a consistent bite. I often tap the pan lightly on the counter to eliminate air pockets, which can cause uneven cooking.
- Bake the crust for 15 minutes, or until it turns a light golden brown. Keep a close eye on it—overbaking can lead to a hard, burnt edge that clashes with the filling. When the crust is ready, remove it from the oven and set it aside to cool slightly while you prepare the filling.
- In a separate bowl, beat 8 ounces of cream cheese until smooth. Add 2 cups granulated sugar and beat until the mixture is fluffy and pale. This step is critical; if the cream cheese is lumpy, the filling will have an uneven texture. I usually use a stand mixer on medium speed for about 2 minutes to achieve the perfect consistency.
- Whisk in 0.25 cup flour, 0.75 cup fresh‑squeezed lemon juice, and 1 teaspoon vanilla. The flour helps set the filling, while the lemon juice provides the bright, citrusy flavor that cuts through the richness. The vanilla adds a subtle warmth that balances the acidity. Mix until just combined; overmixing can cause the filling to become gummy.
- Add 6 large eggs one at a time, beating well after each addition. The eggs act as the binder, giving the filling its structure. Be sure to fully incorporate each egg before adding the next, as this ensures a silky, even batter. If you’re in a hurry, you can whisk the eggs in a separate bowl and add them all at once, but I find the gradual addition yields a smoother result.
- Pour the filling over the pre‑baked crust, spreading it evenly with a spatula. The filling should sit just above the crust line, creating a distinct separation between the two layers. I recommend using a rubber spatula for a clean edge; a metal spatula can scratch the parchment.
- Return the pan to the oven and bake for an additional 30 minutes, or until the filling is set and the edges are lightly golden. The center should still have a slight wobble—this indicates it’s perfectly set without being overcooked. If you like a firmer bar, you can bake a few minutes longer, but watch out for a dry center.
- Let the bars cool completely in the pan on a wire rack. Once cooled, dust them lightly with 0.33 cup powdered sugar, then cut into squares. The powdered sugar adds a sweet finish and a subtle crunch. I always use a fine-mesh sieve to ensure an even dusting. Serve at room temperature or chilled—both options are delicious.
That’s it — you did it. But hold on, I’ve got a few more tricks that'll take this to another level.
Insider Tricks for Flawless Results
The Temperature Rule Nobody Follows
Many bakers bake at 400°F, assuming it will give a golden crust. In reality, 350°F is the sweet spot for lemon bars, allowing the crust to set without burning and the filling to develop a silky texture. If you’re in a hurry, you can bump the temperature to 375°F for the last 5 minutes, but keep an eye on the edges. I’ve seen bars that look perfect but feel dry because of the high heat.
Why Your Nose Knows Best
Before you pull the bars out of the oven, listen for the aroma. A buttery, sweet scent with a hint of citrus tells you the crust is golden and the filling has set. If the smell is too buttery, you’re overbaking; if it’s too sour, you’re underbaking. Trusting your nose is a skill you’ll develop over time, but it’s worth it for that perfect bite.
The 5-Minute Rest That Changes Everything
After removing the bars from the oven, let them rest in the pan for 5 minutes before transferring to a wire rack. This short rest allows the filling to set further, making cutting cleaner and preventing the bars from cracking. I’ve had bars that cracked on the first cut because they were too hot, so this step is essential.
Use Room‑Temperature Ingredients
Cold butter and cream cheese can cause uneven cooking. Letting them sit at room temperature for 20–30 minutes before mixing ensures a smoother batter and a more consistent crust. If you’re short on time, use the microwave in short bursts to soften them, but be careful not to melt the butter.
Dusting Techniques
Instead of a heavy dusting of powdered sugar, use a light hand and a fine sieve to create an even, delicate finish. This gives the bars a professional look and prevents a clumpy, sugary crust. If you prefer a sweeter finish, you can sprinkle a pinch of sea salt on top of the powdered sugar for a sweet‑savory contrast.
Cooling on a Wire Rack
Cooling the bars on a wire rack allows air to circulate around them, preventing condensation that can make the crust soggy. A cool, dry surface also helps the bars set more firmly, making them easier to cut. I’ve found that bars cooled on a flat surface tend to stick together, which is a major no‑no.
Creative Twists and Variations
This recipe is a playground. Here are some of my favorite ways to switch things up:
Nutty Crunch Bar
Add 1/2 cup finely chopped pecans to the crust for a nutty crunch. The nuts provide a pleasant bite and a slightly sweet, buttery flavor that complements the lemon. Toast the nuts lightly before adding to avoid a raw taste. This version is perfect for a holiday gathering.
Chocolate‑Lemon Fusion
Replace the powdered sugar dusting with a thin layer of melted dark chocolate. The bittersweet chocolate pairs beautifully with the citrusy filling, creating a sophisticated flavor profile. Melt the chocolate in a double boiler and drizzle it over the cooled bars. Let it set before cutting.
Minty Fresh Variation
Add 1 tablespoon fresh mint leaves, finely chopped, to the filling mixture. The mint adds a refreshing layer of flavor that enhances the lemon’s brightness. Be careful not to overdo it; mint can be overpowering. This variation is great for a summer brunch.
Caramelized Banana Twist
Layer thin slices of caramelized banana over the crust before pouring the filling. The sweet banana complements the tart lemon, creating a complex flavor profile. Bake the bars as usual; the bananas will soften and caramelize further during the bake. This is a fun way to use up ripe bananas.
Almond‑Infused Delight
Replace the all‑purpose flour in the crust with 1 cup almond flour for a gluten‑free option. The almond flour adds a nutty flavor and a slightly denser texture. Keep an eye on the baking time, as almond flour can brown faster. This version is great for those with gluten sensitivities.
Spiced Citrus Surprise
Add 1/4 teaspoon ground ginger and a pinch of cinnamon to the filling. The spices add warmth and depth to the citrus flavor, creating a cozy, comforting treat. This variation is ideal for fall or winter gatherings. The spices also help balance the sharpness of the lemon.
Storing and Bringing It Back to Life
Fridge Storage
Store the bars in an airtight container in the refrigerator for up to 7 days. The airtight environment prevents the bars from drying out and keeps the powdered sugar dusting intact. When you’re ready to serve, let them sit at room temperature for 10 minutes to soften slightly. This makes cutting easier and enhances the flavor.
Freezer Friendly
Wrap the bars tightly in plastic wrap and then in foil before freezing. They can stay in the freezer for up to 3 months. When you’re ready to enjoy them, thaw in the refrigerator overnight, then let them sit at room temperature for 20 minutes. The bars will retain their texture and flavor, making them a convenient dessert for busy days.
Best Reheating Method
To reheat frozen bars, preheat your oven to 300°F (150°C) and place the wrapped bars on a baking sheet. Bake for 15–20 minutes, or until warmed through. Add a tiny splash of water before reheating to create steam that brings back the bars’ original moisture. This trick ensures the bars don’t dry out during the reheating process.