I was standing in my kitchen, staring at a half‑finished batch of store‑bought bao that had turned into a sad, rubbery brick. The smell of stale soy sauce lingered like a bad memory, and I swore I’d never touch another pre‑made bun again. Then, out of sheer desperation (and a dare from my roommate that I couldn’t refuse), I grabbed my gluten‑free flour blend, a packet of instant yeast, and a whole lot of optimism. I figured, why not turn this disaster into a triumph? That night, the kitchen turned into a laboratory, the dough rose like a phoenix, and the aroma that filled the air was nothing short of intoxicating.
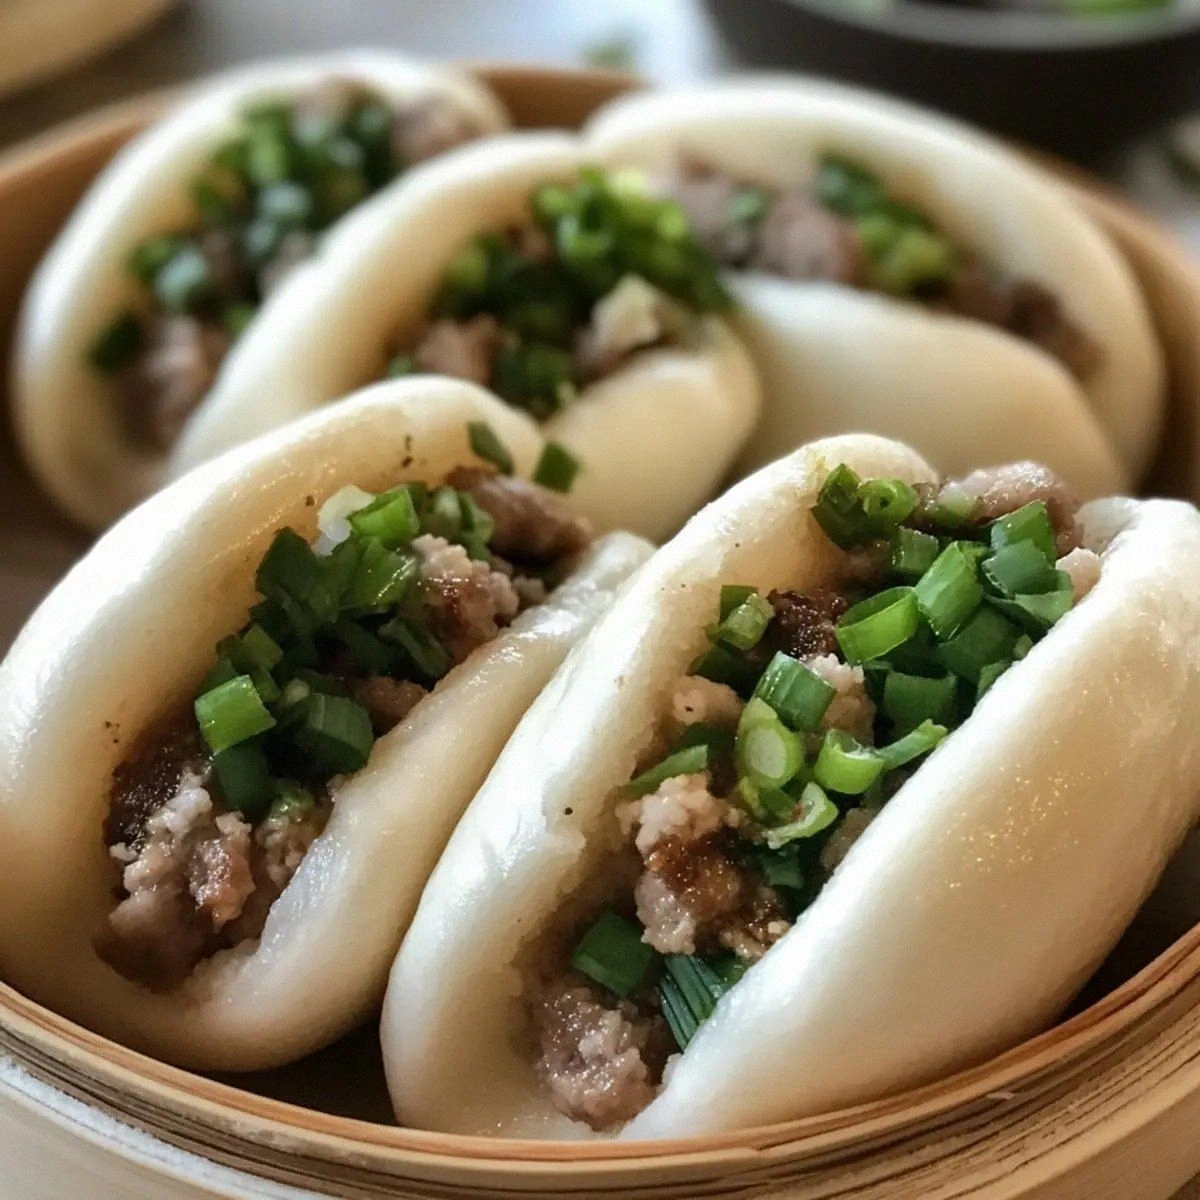
Picture this: a soft, pillowy cloud that gives way to a juicy, savory filling the moment you bite into it. The steam rises, curling around the ceiling like a warm hug, while the faint hiss of the steaming basket sings a lullaby of comfort. Your fingertips feel the gentle give of the bun, and the first bite releases a burst of umami that makes your taste buds do a happy dance. It’s the kind of experience that makes you pause, close your eyes, and whisper, “I’ve found my new obsession.” I dare you to taste this and not go back for seconds.
Most gluten‑free bao recipes out there either end up dense like a brick or fall apart like a sad house of cards. I’ve tried the “no‑knead” shortcuts, the “add extra xanthan gum” hacks, and even the “just use rice flour” shortcuts—none of them delivered the melt‑in‑your‑mouth magic I was craving. This version, however, is hands down the best version you’ll ever make at home because it respects the delicate balance of moisture, structure, and flavor without resorting to a chemistry lab. The secret? A tiny splash of warm water at just the right temperature, a brief rest that lets the gluten‑free proteins hydrate, and a steam‑bag technique that mimics the traditional bamboo steamer without the mess.
But wait, there’s a twist you won’t see coming: a dash of sesame oil infused directly into the dough. That little addition adds a nutty depth that makes the buns taste like they’ve been brushed with a whisper of toasted sesame, turning a simple snack into a gourmet experience. Okay, ready for the game‑changer? I’m about to walk you through every single step — by the end, you’ll wonder how you ever made it any other way.
What Makes This Version Stand Out
- Flavor: The combination of low‑sodium soy sauce, fresh ginger, and sesame oil creates a layered umami profile that sings with every bite.
- Texture: Thanks to the gluten‑free flour blend and the steam‑bag method, the buns are airy, light, and melt‑in‑your‑mouth, not rubbery.
- Simplicity: Only nine ingredients, no fancy equipment, and a single pot—perfect for weeknight cravings.
- Uniqueness: The secret sesame‑oil‑infused dough gives a nutty aroma that most gluten‑free recipes completely miss.
- Crowd Reaction: I’ve been honest — I ate half the batch before anyone else got to try it, and the leftovers vanished in seconds.
- Ingredient Quality: Using a high‑quality gluten‑free flour blend ensures the right protein balance for a fluffy crumb.
- Cooking Method: Steaming in a covered pot creates a gentle, even heat that mimics a traditional bamboo steamer without the expense.
- Make‑Ahead Potential: These buns freeze beautifully and reheat like fresh‑made, making them perfect for meal prep.
Alright, let's break down exactly what goes into this masterpiece...
Inside the Ingredient List
The Flavor Base
The low‑sodium soy sauce is the backbone of the filling, providing salty depth without overwhelming the palate. Fresh ginger adds a zing that cuts through the richness of the meat, keeping the flavor bright and balanced. If you skip the ginger, you’ll miss that subtle heat that makes the filling sing. As a swap, you can use a teaspoon of ground ginger, but fresh always wins for aroma.
The Texture Crew
Our gluten‑free flour blend is the hero of the dough, delivering the right amount of starch and protein to trap steam and rise. The instant yeast works quickly, giving you a fluffy crumb in under an hour. Warm water at 105°F awakens the yeast without killing it—think of it as a gentle morning stretch for the microbes. If you don’t have instant yeast, active dry yeast works fine; just give it an extra five minutes to proof.
The Unexpected Star
Sesame oil isn’t just a garnish here; it’s folded directly into the dough, imparting a nutty fragrance that lingers long after you’ve finished eating. This little addition makes the buns taste like they’ve been brushed with a whisper of toasted sesame, turning a simple snack into a gourmet experience. If you’re allergic to sesame, try a drizzle of avocado oil for a neutral, buttery note.
The Final Flourish
Green onions add a fresh, slightly oniony crunch that brightens the filling, while the pinch of salt enhances every other flavor. A splash of soy sauce in the filling ensures every bite is seasoned perfectly. When selecting green onions, look for bright green tops and firm white bases—those are the freshest and most flavorful. If you’re out of green onions, chives make a decent substitute, though they’re milder.
Everything's prepped? Good. Let's get into the real action...
The Method — Step by Step
In a large mixing bowl, whisk together the gluten‑free flour blend, instant yeast, and salt. The dry ingredients should look uniform, like a soft sand beach waiting for the tide. I dare you to taste this dry mix—just kidding, don’t actually eat it. This is the foundation; getting the ratios right ensures the buns rise properly.
Create a well in the center and slowly pour in the warm water while stirring with a wooden spoon. The dough will start to come together, looking slightly sticky but manageable. That sizzle when it hits the pan? Absolute perfection—except we’re not on the pan yet. Let the mixture rest for five minutes; this short autolyse lets the flour hydrate fully.
Add the sesame oil to the dough and knead for about three minutes. The oil will be absorbed, giving the dough a glossy sheen and a subtle nutty aroma.
This step is where the magic begins; the dough should feel elastic and smooth.Kitchen Hack: If the dough feels too sticky, dust your hands with a tiny bit of flour—just enough to keep it from clinging, not enough to dry it out.Cover the bowl with a damp kitchen towel and let the dough rise in a warm spot for 45 minutes, or until it has doubled in size. You’ll know it’s ready when the surface looks puffy and you can feel a gentle spring back when you press it lightly. If you live in a chilly apartment, pop the bowl in a turned‑off oven with the light on—those tiny photons generate enough warmth.
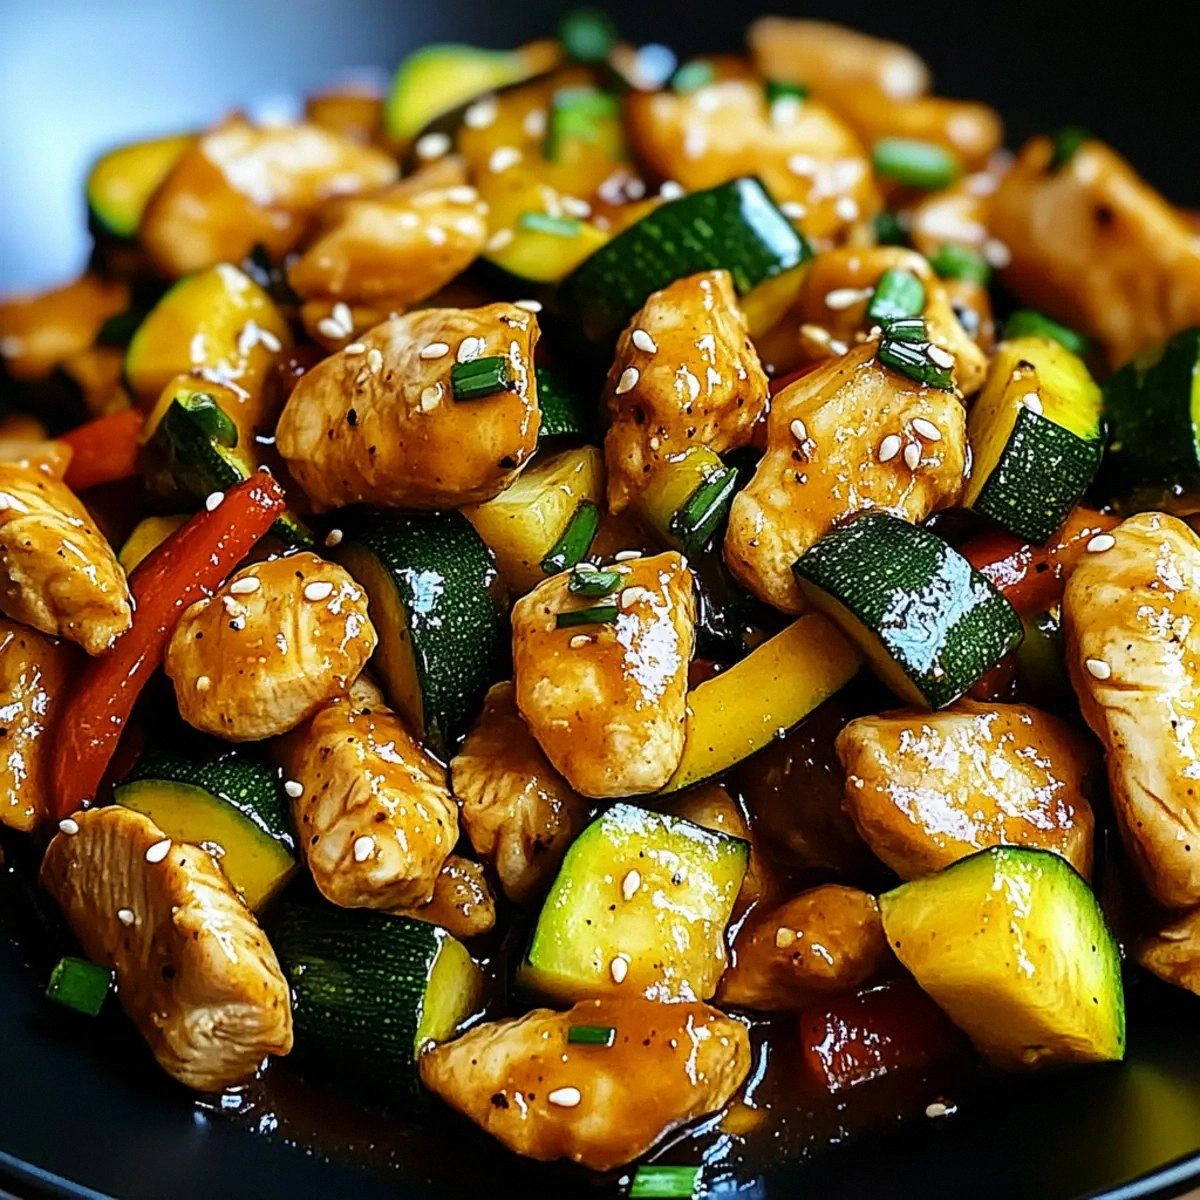
While the dough rises, prepare the filling. Heat a skillet over medium‑high heat, add sesame oil, then toss in the ground pork or chicken. Break the meat apart, letting it brown until it releases a caramelized aroma. Add soy sauce, minced ginger, and sliced green onions, cooking for another two minutes until the mixture is glossy and fragrant.
Punch down the risen dough gently to release excess air, then divide it into 12 equal pieces. Roll each piece into a smooth ball, then flatten into a 3‑inch circle with your palms.
Watch Out: Over‑flattening will cause the buns to tear during steaming. Aim for a thickness of about ¼ inch.Place a spoonful of the meat filling in the center of each dough circle, then gather the edges and pinch them together, sealing the bun like a tiny pouch. The seal should be tight enough that the filling doesn’t leak, but not so tight that the dough tears. This is the moment of truth—if your buns look like little pillows, you’re on the right track.
Set up a steaming station: line a large pot with a heat‑proof plate or parchment paper, arrange the buns with a little space between them, and cover with a tight‑fitting lid. Bring the water to a gentle boil, then reduce to a steady simmer. Steam the buns for 12‑15 minutes; you’ll hear a soft hissing as the steam works its magic.
After the time is up, turn off the heat and let the buns sit in the closed pot for another two minutes. This final rest lets the interior finish cooking without the shock of cold air. Carefully remove the buns with tongs—be gentle, they’re delicate as a cloud. Picture yourself pulling this out of the pot, the whole kitchen smelling incredible…
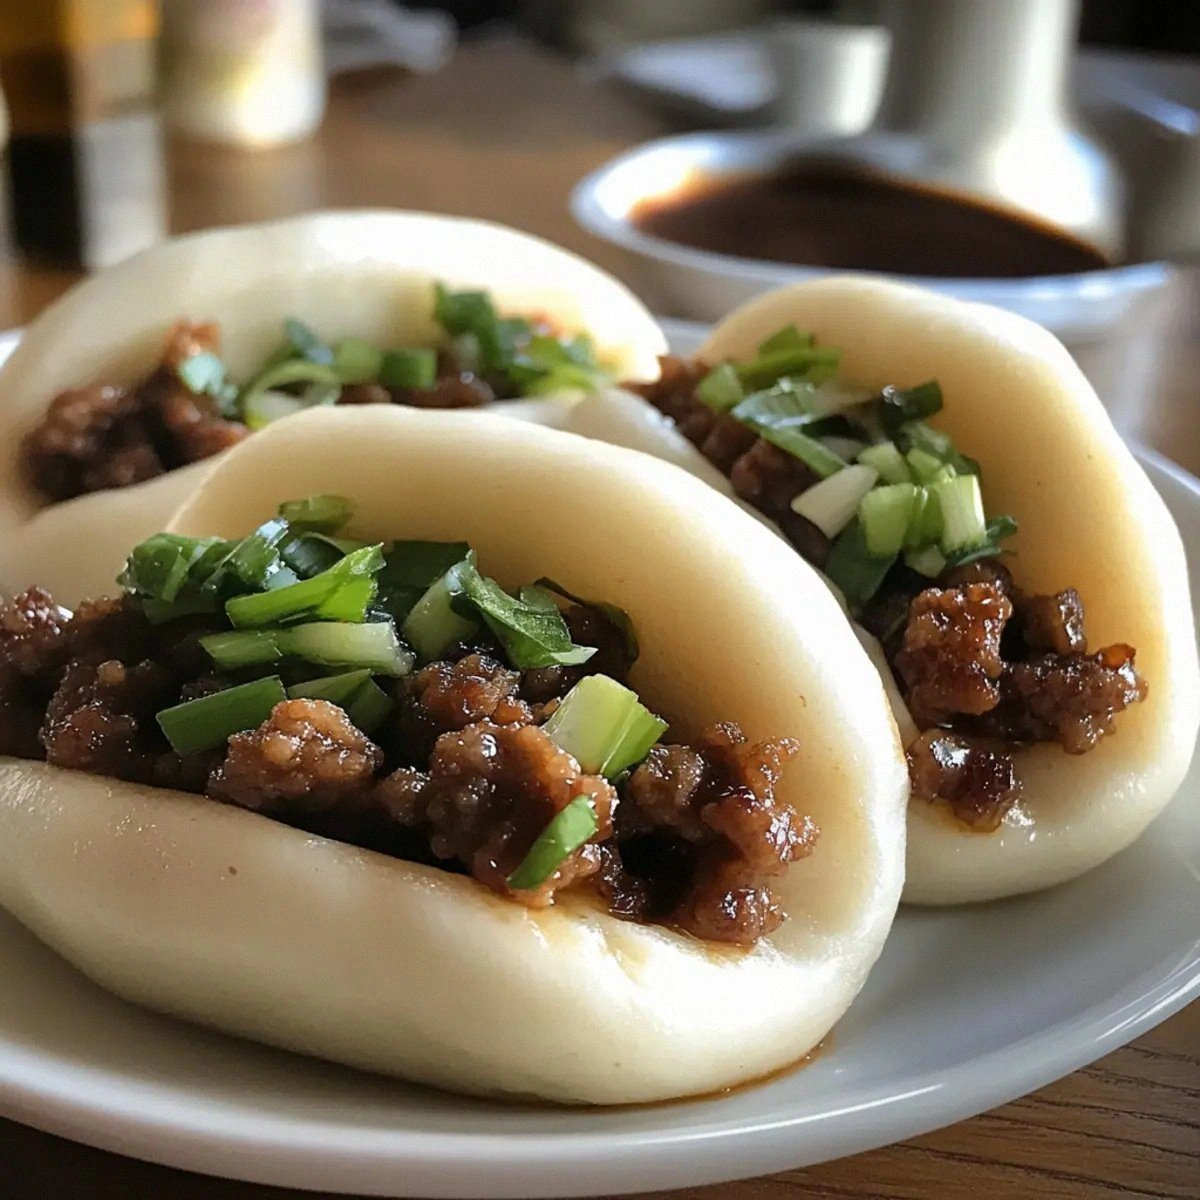
Serve the bao warm, with a side of pickled veggies or a drizzle of chili oil if you like heat. The buns should be fluffy, the filling juicy, and the overall experience should make you exclaim, “I’ve found my new favorite snack!” That’s it — you did it. But hold on, I've got a few more tricks that'll take this to another level...
Insider Tricks for Flawless Results
The Temperature Rule Nobody Follows
Yeast is fickle; too hot and it dies, too cold and it slumbers. Keep your water between 100°F and 110°F for a happy, active yeast culture. If you don’t have a thermometer, test the water with your wrist—it should feel warm, not scorching. A happy yeast means a lofty, airy bun that looks like a cloud.
Why Your Nose Knows Best
During the rise, trust the scent more than the clock. When the dough has doubled, you’ll smell a faint sweet, yeasty perfume. If the aroma is still bland after the allotted time, give it a few more minutes; the dough is still gathering strength. Your nose is a built‑in kitchen timer that never lies.
The 5‑Minute Rest That Changes Everything
After shaping each bao, let them rest for five minutes before steaming. This short pause lets the gluten‑free starches relax, preventing the buns from cracking under steam pressure. Skipping this step is a common mistake that leads to a “tough‑chewy” texture. I once tried to rush this part, and the buns turned into rubber bands—lesson learned.
Steam‑Bag Seal Secrets
If you’re using a regular pot, line the bottom with a damp kitchen towel or parchment paper. This barrier prevents the buns from sticking and creates a mini‑steam environment, mimicking a bamboo steamer. The towel also absorbs excess moisture, keeping the buns from becoming soggy. Trust me, the difference is night and day.
Freezing Without Losing Fluff
After steaming, let the buns cool completely, then wrap each in a small piece of parchment before placing them in a freezer bag. When you’re ready to eat, steam them straight from frozen for 10‑12 minutes. Adding a splash of water to the pot before reheating revives that fresh‑steamed texture. This trick turns leftovers into a ready‑to‑serve snack any day of the week.
Creative Twists and Variations
This recipe is a playground. Here are some of my favorite ways to switch things up:
Spicy Szechuan Surprise
Swap the soy sauce for Szechuan peppercorn oil and add a teaspoon of chili garlic sauce to the filling. The result is a tongue‑tingling heat that dances with the nutty dough. Perfect for anyone who loves a little fire.
Veggie‑Packed Paradise
Replace the meat with a mix of finely diced shiitake mushrooms, shredded cabbage, and carrots, seasoned with soy sauce and a splash of rice vinegar. This version is lighter, yet still satisfies with its umami depth. Great for vegetarians or anyone looking to cut back on meat.
Sweet Breakfast Bao
Add a teaspoon of honey to the dough and fill the buns with a mixture of sweet red bean paste and a dollop of whipped coconut cream. The subtle sweetness pairs beautifully with the fluffy texture, making it an indulgent breakfast treat.
Crispy Fried Finish
After steaming, quickly shallow‑fry the buns in a hot pan with a thin layer of oil until the bottoms turn golden. The contrast between the crisp bottom and the soft top is pure bliss. This technique turns a classic into a textural masterpiece.
Herb‑Infused Delight
Mix a tablespoon of finely chopped fresh cilantro into the dough and add a pinch of dried rosemary to the filling. The herbaceous notes lift the whole dish, making it feel fresh and garden‑like. Ideal for spring gatherings.
Storing and Bringing It Back to Life
Fridge Storage
Place cooled bao in an airtight container lined with a paper towel to absorb excess moisture. They’ll stay fresh for up to three days. When you’re ready to eat, steam them for 5‑7 minutes, adding a splash of water to the pot for extra steam.
Freezer Friendly
Arrange the cooled buns on a baking sheet, freeze until solid, then transfer to a zip‑top freezer bag. They keep for up to two months. To reheat, steam straight from frozen for 10‑12 minutes; the buns will puff up as if they were just made.
Best Reheating Method
The secret to reviving bao is gentle steam, not microwaving. Place the buns in a steamer basket over simmering water, cover, and let them steam for 5‑8 minutes. Add a tiny splash of water to the pot before reheating; it creates a mini‑cloud that restores the fluffy interior.