I was standing in my kitchen on a rainy Tuesday, staring at a half‑baked batch of cookie dough that tasted like disappointment and burnt sugar. My roommate dared me to make something that could actually warm a cold evening, and I thought, “Why not combine the two things that make my soul smile: pure maple syrup and cinnamon?” The result? A cookie that’s chewy enough to bend without breaking, sweet enough to make you forget about the storm outside, and spiced just right to feel like a hug from grandma. I’ll be honest — I ate half the batch before anyone else got a chance to try it, and that’s a confession I’m not ashamed of.
Picture this: the oven door swings open, releasing a plume of amber‑gold aroma that instantly turns the kitchen into a cabin retreat. You hear the faint crackle of butter melting into the batter, the soft thud of a spoon hitting the mixing bowl, and the subtle whisper of cinnamon dust swirling like tiny fireworks. The dough feels smooth and glossy under your fingertips, a little sticky from the maple but still manageable. When you scoop the dough onto the tray, each mound holds a promise of caramel‑kissed edges and a melt‑in‑your‑mouth center that will make your taste buds do a happy dance.
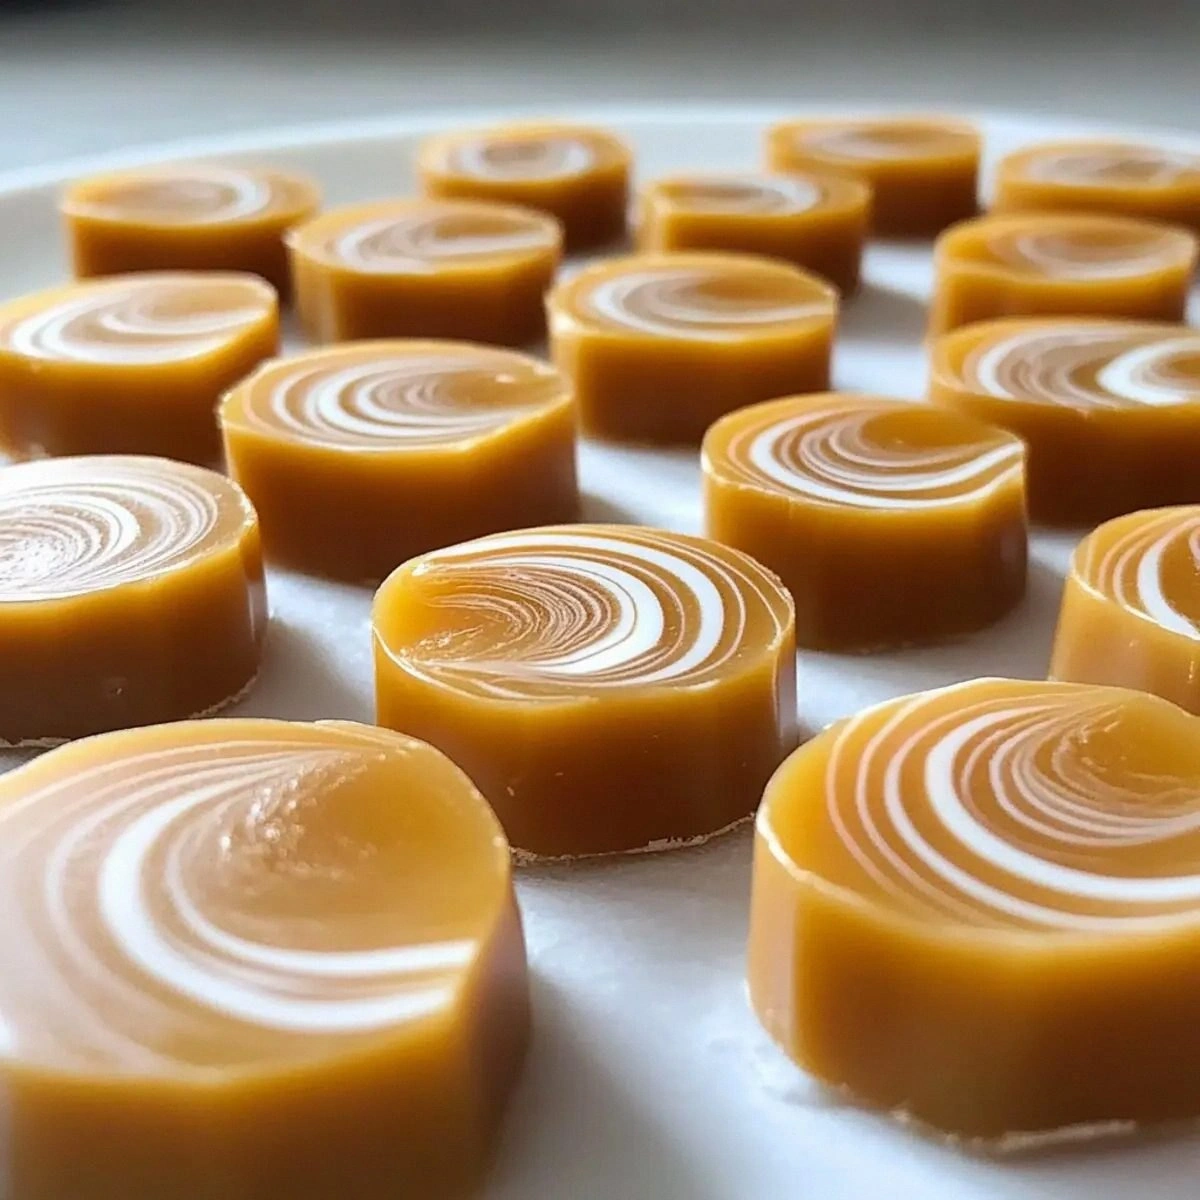
Most cookie recipes get the balance of sweetness and chew wrong. They either end up dry, cakey, or overly sugary. This version stands out because it uses pure maple syrup as a liquid sweetener, which not only adds depth but also keeps the crumb tender. The secret weapon is a dash of maple extract that amplifies the flavor without drowning the cinnamon, and the addition of white chocolate wafers gives each bite a silky surprise that melts like butter on a hot skillet. I dare you to taste this and not go back for seconds.
Okay, ready for the game‑changer? The technique I’m about to share involves a brief chilling period that lets the butter solidify just enough to create that coveted chewy texture, and a final bake at a slightly lower temperature to prevent over‑browning. This is the part where the magic really happens, and I promise you, by the end you’ll wonder how you ever made cookies any other way. Let me walk you through every single step — by the end, you’ll wonder how you ever made it any other way.
What Makes This Version Stand Out
- Flavor Fusion: The combination of pure maple syrup and cinnamon creates a warm, autumnal profile that feels both nostalgic and fresh.
- Chewy Texture: A precise butter‑to‑sugar ratio and a short chill give the cookies that perfect, slightly stretchy bite.
- Simplicity: Only eleven ingredients, all of which you probably already have, means no frantic grocery runs.
- Unique Twist: White chocolate melting wafers add a luxurious melt‑in‑your‑mouth element that most recipes miss.
- Crowd Reaction: Guests will ask for the recipe immediately, and you’ll have the perfect excuse to keep them coming back.
- Ingredient Quality: Using pure maple syrup (not pancake syrup) ensures a complex sweetness that sugars alone can’t provide.
- Cooking Method: Baking at 325°F preserves the delicate caramelization without turning the edges into charcoal.
- Make‑Ahead Potential: These cookies store beautifully, staying soft for days, and they freeze like a dream.
Inside the Ingredient List
The Flavor Base
Pure maple syrup is the heart of this cookie. It brings a deep, caramel‑like sweetness that sugar alone can’t mimic. If you substitute with regular syrup, you’ll lose the nuanced flavor and the moisture balance, resulting in a drier cookie. Look for Grade A Dark maple syrup for a richer taste, and don’t be shy about giving it a quick swirl before measuring to ensure even distribution.
The Texture Crew
Melted unsalted butter and brown sugar work together to create that coveted chew. The butter adds richness, while the brown sugar’s molasses content keeps the crumb moist. Skipping the butter or using margarine will make the cookies crumbly and less flavorful. For a dairy‑free version, try coconut oil, but expect a subtle coconut aftertaste.
The Unexpected Star
White chocolate melting wafers are the surprise element that turns an ordinary cookie into a show‑stopper. They melt into pockets of silky sweetness that contrast beautifully with the maple‑cinnamon backbone. If you can’t find melting wafers, chop a high‑quality white chocolate bar into small chunks; the texture will be slightly different but still delightful.
The Final Flourish
All‑purpose flour provides the structural backbone, while a pinch of fine salt amplifies every other flavor. The baking soda gives the cookies a slight lift, preventing them from becoming dense. If you’re gluten‑free, a blend of rice flour and tapioca starch works, but the texture will be a tad more crumbly. Remember, the cinnamon is what makes this a “cozy evening” cookie; don’t skimp on it.
Everything's prepped? Good. Let's get into the real action...
The Method — Step by Step
Preheat your oven to 325°F (165°C) and line two baking sheets with parchment paper. While the oven heats, take a moment to appreciate the faint hiss of the heating elements—this is the sound of anticipation building. The lower temperature is intentional; it ensures the cookies bake evenly without over‑browning the edges. Place a wire rack near the oven so you can cool the cookies quickly once they’re out.
In a medium bowl, whisk together the pure maple syrup, maple extract, and melted butter until the mixture shines like amber glass. This is the moment where the syrup coats the butter like velvet, creating a glossy base that will later translate into a glossy cookie surface. If you notice any lumps, keep whisking; a smooth base is crucial for uniform texture.
Add the brown sugar and egg to the syrup‑butter blend, beating until the mixture is light and fluffy. You’ll see the color lift slightly, and the scent of caramel will start to fill the kitchen. This is where the structure begins to form, and the sugar will later dissolve into those chewy pockets we all love.
In a separate large bowl, sift together the all‑purpose flour, ground cinnamon, baking soda, and fine salt. Sifting aerates the dry ingredients, which helps the cookies rise just enough to stay tender. The cinnamon will create those fragrant swirls you’ll smell as the cookies bake, and the baking soda will give them that subtle puff that keeps the interior from turning into a hard biscuit.
Gradually fold the dry mixture into the wet mixture, stirring just until no flour streaks remain. Over‑mixing at this stage can develop gluten, leading to a tougher cookie. The batter will look thick and slightly sticky—this is exactly how it should be. Watch Out: If the dough feels too dry, add a teaspoon of milk; if it’s too wet, sprinkle a tablespoon of flour.
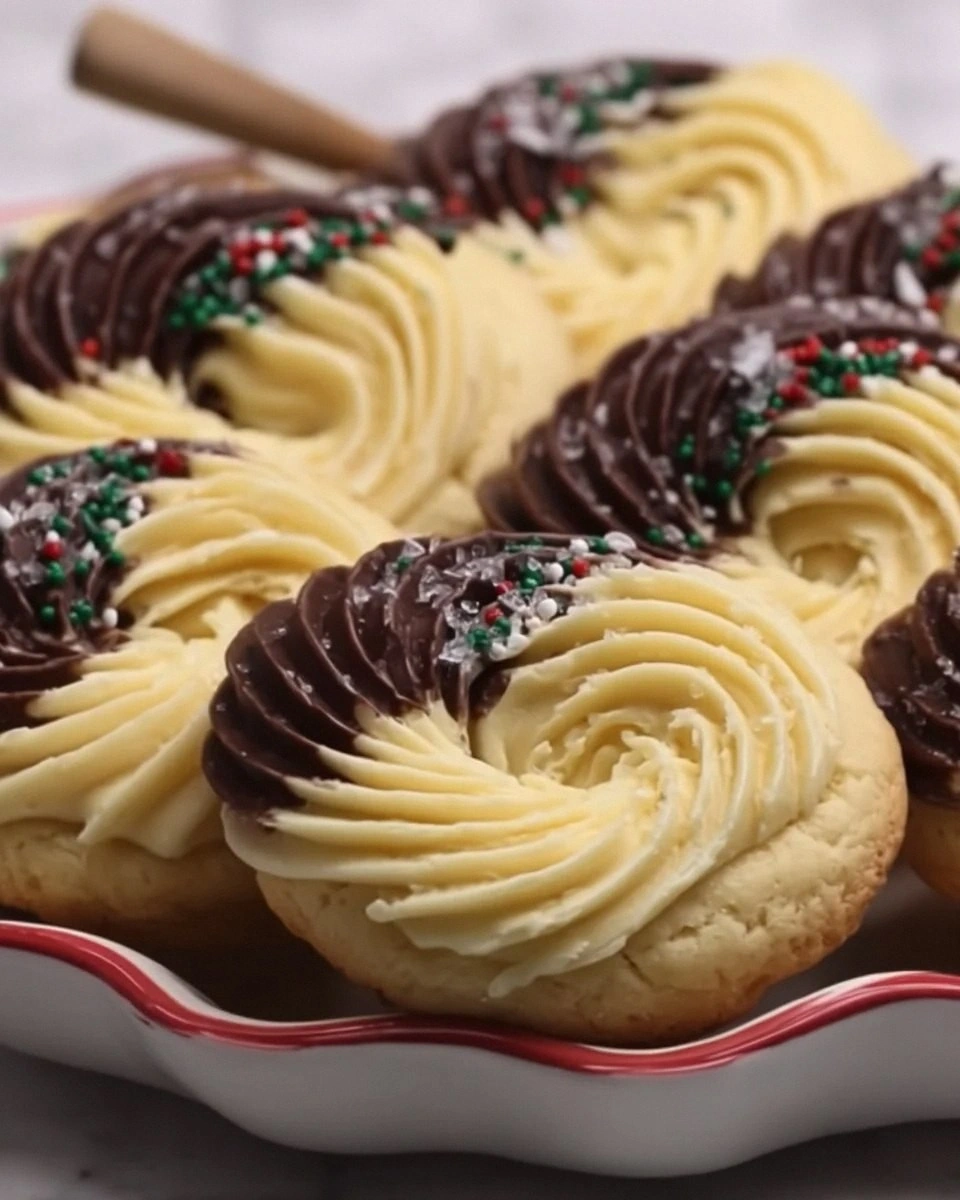
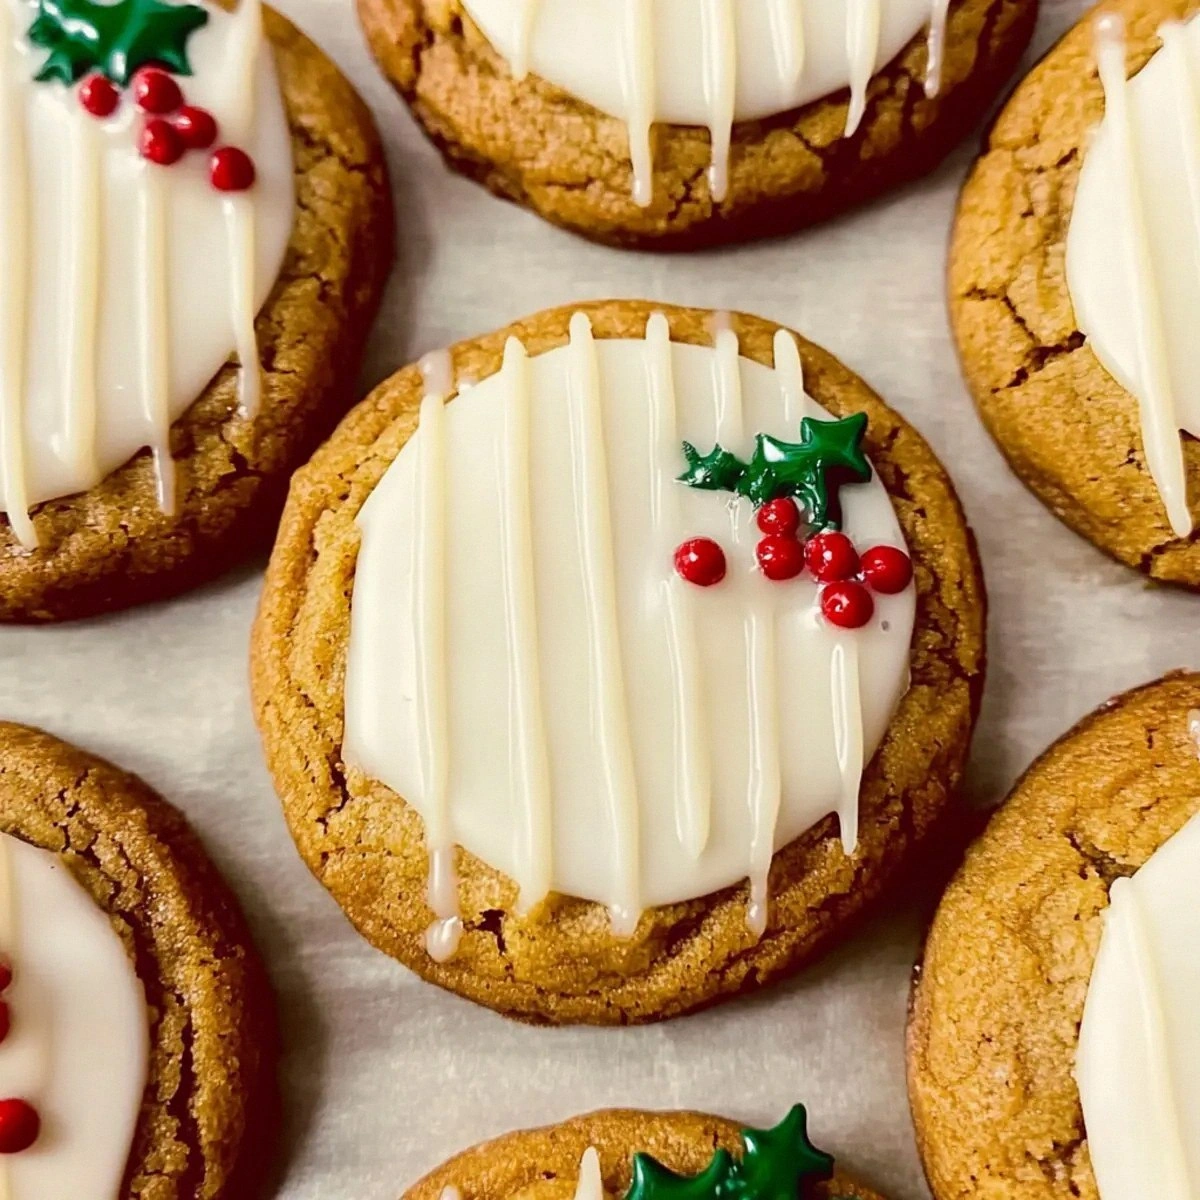
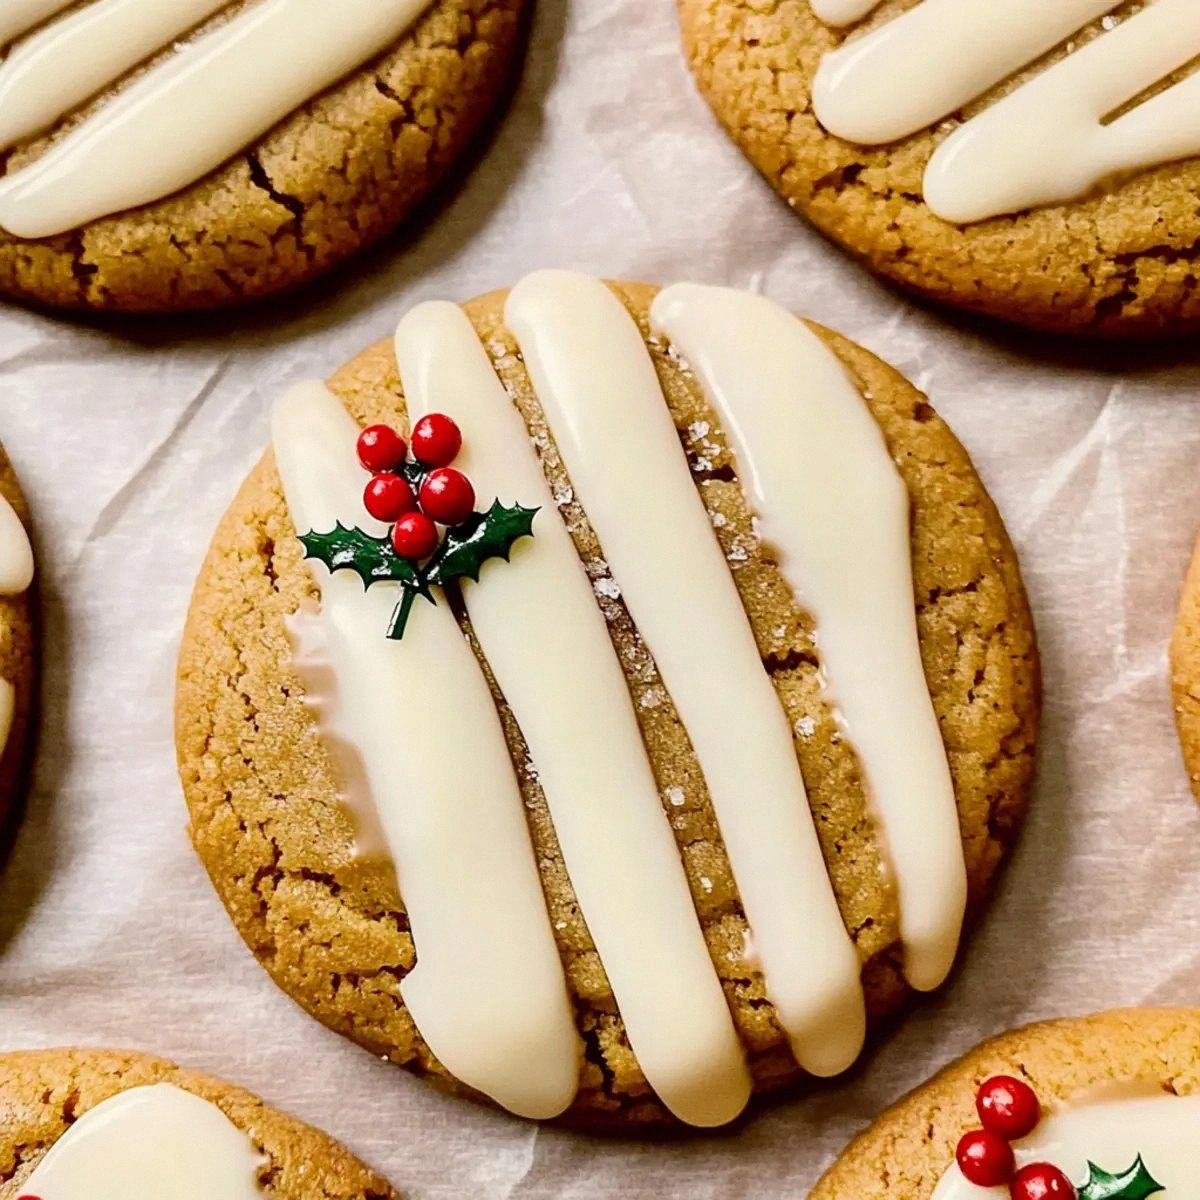
Gently fold in the white chocolate melting wafers and, if you’re feeling festive, a handful of Holly berry sprinkles. The wafers should be evenly distributed, creating little pockets of melt‑in‑your‑mouth sweetness. The sprinkles add a pop of color and a subtle crunch that’s optional but delightful for holiday presentations.
Scoop tablespoon‑sized balls of dough onto the prepared baking sheets, spacing them about 2 inches apart. The dough will spread modestly; if you prefer a thicker cookie, press the tops down lightly with the back of a spoon. As the cookies bake, you’ll notice the edges turning a light amber while the centers stay soft and plump.
Bake for 12‑14 minutes, or until the edges are set and the tops have a faint golden hue. The scent at this stage is pure comfort—imagine a cabin in the woods with a fire crackling nearby. Remove the trays and let the cookies rest on the wire rack for at least 5 minutes; they’ll continue to set as they cool, achieving that perfect chew.
That’s it — you did it. But hold on, I’ve got a few more tricks that'll take this to another level...
Insider Tricks for Flawless Results
The Temperature Rule Nobody Follows
Never bake cookies on a hot oven straight from preheat. Let the oven sit for an extra five minutes after reaching 325°F; this stabilizes the temperature and prevents hot spots that can cause uneven browning. I once baked a batch on a jittery oven and ended up with one side burnt while the other was pale—lesson learned.
Why Your Nose Knows Best
Instead of relying solely on a timer, trust the aroma. When the cookies emit a sweet, nutty scent with a hint of toasted cinnamon, they’re almost done. If you wait for the timer alone, you risk over‑cooking; if you trust your nose, you’ll capture that perfect, just‑right chew.
The 5‑Minute Rest That Changes Everything
After baking, let the cookies rest on the rack for at least five minutes before moving them to a storage container. This short rest allows the interior moisture to redistribute, preventing a gummy center. A friend once tried to stack them immediately and ended up with a soggy bottom—let them breathe!
The Butter Softening Trick
If your butter is too cold to melt smoothly, microwave it in 5‑second bursts, stirring between bursts. This ensures a uniform melt without overheating, which could cause the butter to separate and affect texture.
The Sprinkle Strategy
Add Holly berry sprinkles just before the final bake, not during mixing. This prevents them from melting into the dough and losing their festive crunch. If you’re making a non‑holiday batch, replace them with a dusting of powdered sugar after cooling for an elegant finish.
Creative Twists and Variations
This recipe is a playground. Here are some of my favorite ways to switch things up:
Maple Pecan Crunch
Fold in ½ cup chopped toasted pecans with the white chocolate. The nuts add a buttery crunch that pairs perfectly with the maple base, making these ideal for a holiday platter.
Spicy Maple Chili
Add a pinch of cayenne pepper to the dry ingredients. The subtle heat creates a sweet‑heat contrast that will surprise and delight adventurous eaters.
Brown Butter Bliss
Replace the melted butter with browned butter for a nutty, caramel‑rich depth. This version feels like a sophisticated dessert for a dinner party.
Vegan Velvet
Swap the egg for a “flax egg” (1 tbsp ground flaxseed + 3 tbsp water) and use coconut oil instead of butter. The texture stays chewy, and the flavor remains true to the original.
Cranberry Maple
Stir in ¼ cup dried cranberries after adding the white chocolate. The tartness of the berries balances the sweetness, creating a festive autumn treat.
Storing and Bringing It Back to Life
Fridge Storage
Place cookies in an airtight container with a slice of bread on top; the bread will keep them soft for up to a week. The moisture from the bread transfers to the cookies, preserving that coveted chew.
Freezer Friendly
Layer cookies between parchment sheets and freeze in a zip‑top bag for up to three months. When you’re ready, let them thaw at room temperature, then give them a quick 3‑minute warm‑up in a 300°F oven to revive the melt‑in‑your‑mouth texture.
Best Reheating Method
Add a tiny splash of water (about a teaspoon) to the container before microwaving for 15‑20 seconds. The steam revitalizes the crumb, making each bite as fresh as the day they came out of the oven.