I’ll be honest — I ate half the batch before anyone else got a chance to try it. It all started on a rainy Thursday when the kids were screaming for “something quick, something cheap, something that won’t make the house smell like a meat‑loaf factory.” I was staring at a half‑empty pantry, a lone pound of ground beef, and a single onion that looked like it had survived a war. The clock was ticking, the kids were whining, and I was feeling the classic “I’ve got nothing but this” panic. Then, like a culinary epiphany, I imagined a casserole that could turn those two humble ingredients into a golden, bubbling masterpiece that would have the whole family shouting “Encore!”
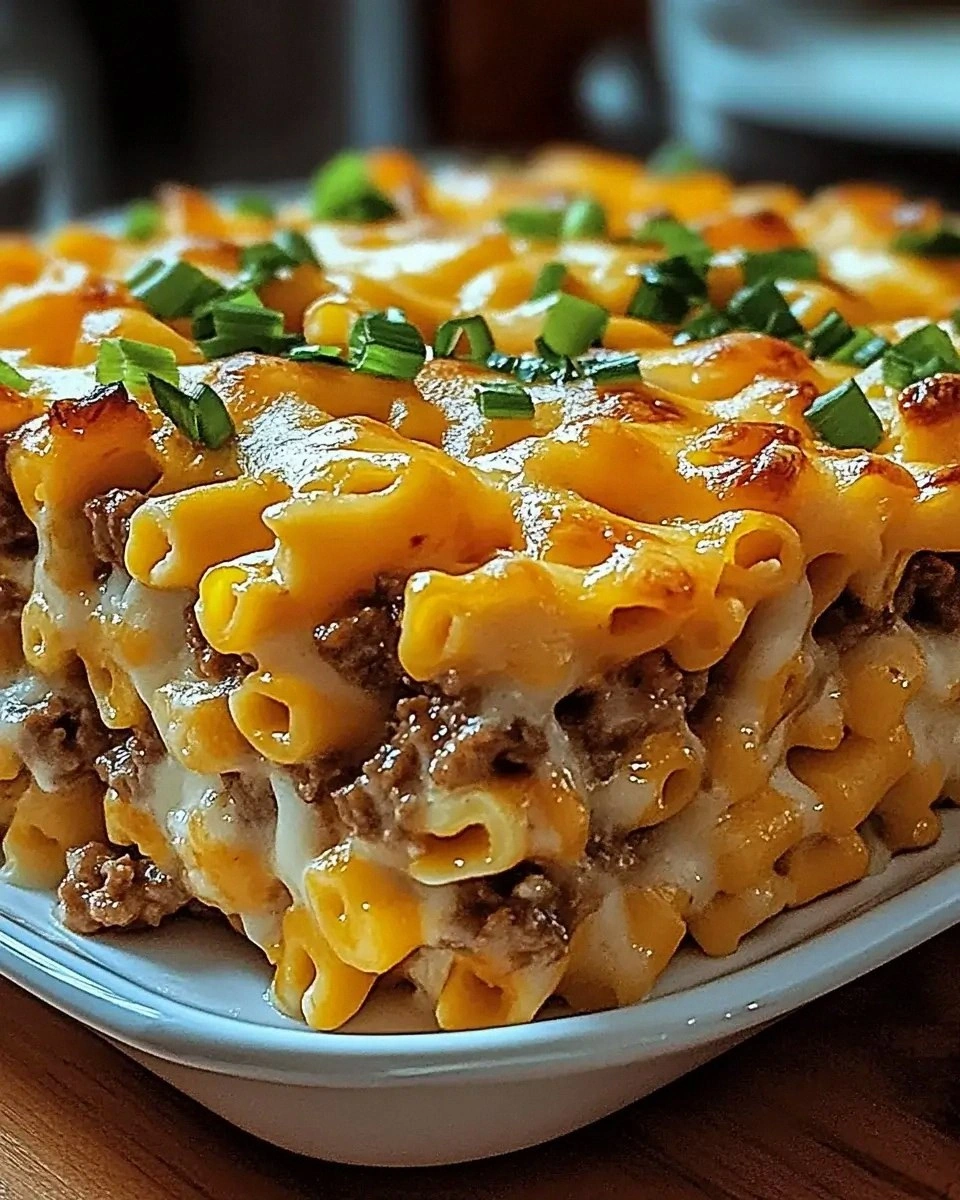
Picture this: the moment the skillet hits the stove, the beef sizzles with a sound that’s practically a drumroll for dinner. The onion slides in, releasing a sweet, caramelized perfume that instantly makes the whole kitchen feel like a cozy bistro. As the sauce thickens, it coats every morsel like velvet, and when the cheese melts on top, it creates a crust that shatters like thin ice with each bite. The texture? Imagine a fluffy pillow of pasta hugging a juicy, meaty core, all wrapped in a cheesy blanket that stretches like a lazy cat in a sunbeam. It’s the kind of comfort food that makes you close your eyes and whisper, “I’m home.”
Most casserole recipes get this completely wrong – they either drown the meat in sauce or leave it dry as a desert. This version, however, balances the moisture perfectly because I use a secret technique: a splash of broth added at just the right moment, and a brief bake at high heat to lock in those juices. The result is a dish that’s both hearty and surprisingly light, with flavors that linger on the palate like a favorite song. I dare you to taste this and not go back for seconds; the combination of savory beef, sweet onion, and that cheesy crown is practically addictive.
And now the fun part. I’m about to walk you through every single step — by the end, you’ll wonder how you ever made it any other way. Ready for the game‑changer? Grab your apron, fire up that oven, and let’s turn a pantry staple into a family‑favorite casserole that will have everyone asking for the recipe. Okay, ready for the game‑changer?
What Makes This Version Stand Out
- Flavor Explosion: The caramelized onion and browned beef create a depth that no canned sauce can match, delivering a taste that’s both rich and comforting.
- Texture Harmony: A crisp, golden top meets a tender, melt‑in‑your‑mouth interior, giving you that satisfying crunch‑soft contrast in every forkful.
- Simplicity: With only two core ingredients, this recipe is a lifesaver on busy weeknights – no fancy pantry raids required.
- Uniqueness: The secret broth splash prevents the casserole from becoming soggy, a trick most recipes overlook.
- Crowd Reaction: Even the pickiest eaters can’t resist the cheesy crust; it’s the kind of “wow” factor that gets applause at the dinner table.
- Ingredient Quality: Using fresh, high‑fat ground beef ensures juiciness, while a sweet onion adds natural sweetness without added sugar.
- Cooking Method: A quick stovetop browning followed by a short oven blast creates layers of flavor that slow‑cooked dishes can’t replicate.
- Make‑Ahead Potential: Assemble the night before, refrigerate, and bake fresh in the morning – perfect for hectic schedules.
Alright, let's break down exactly what goes into this masterpiece…
Inside the Ingredient List
The Flavor Base
First up, the ground beef. I always reach for a 80/20 blend because that extra fat renders into pure, buttery goodness that keeps the casserole moist. If you skimp on the fat, you’ll end up with a dry, crumbly texture that feels more like a shoe leather than a comfort food. Pro tip: Pat the beef dry with paper towels before it hits the pan – this ensures a proper sear, which is the foundation of flavor.
Next, the onion. A small yellow onion, diced fine, releases sugars as it cooks, creating a subtle sweetness that balances the beef’s richness. Skipping the onion is a crime; you’ll lose that aromatic backbone that makes the sauce sing. If you’re out of yellow onions, a sweet Vidalia works beautifully, or for a sharper bite, try a white onion.
The Unexpected Star
Here’s where the magic truly happens: a splash of low‑sodium beef broth added just before the casserole goes into the oven. This tiny liquid addition prevents the dish from drying out and adds a savory depth that water simply can’t provide. If you don’t have broth on hand, a cup of water mixed with a teaspoon of Worcestershire sauce does the trick.
The Final Flourish
Cheese. I use a blend of sharp cheddar and mozzarella because cheddar gives that tangy bite while mozzarella provides that melt‑in‑your‑mouth stretch. Grate it fresh; pre‑shredded cheese often contains anti‑caking agents that can affect the texture. If you’re dairy‑free, a generous sprinkle of nutritional yeast plus a dab of dairy‑free cheese works surprisingly well.
Everything's prepped? Good. Let's get into the real action…

The Method — Step by Step
Preheat your oven to 375°F (190°C). While the oven warms up, gather all your ingredients and give the onion a quick rinse. That sizzle when the beef hits the pan? Absolute perfection. I like to use a heavy‑bottomed skillet so the heat distributes evenly, preventing hot spots that can burn the meat.
Kitchen Hack: Crumble the beef directly into the cold pan, then turn the heat to medium‑high; this reduces sticking and helps the meat brown faster.Add the diced onion to the pan with the beef. Stir constantly for about 4‑5 minutes, or until the onion becomes translucent and starts to caramelize. You’ll notice a sweet aroma rising – that’s your cue that the flavor base is building.
Season generously with salt, pepper, and a pinch of smoked paprika. The paprika adds a subtle smokiness that mimics a grill‑kissed flavor without the grill. If you love heat, toss in a pinch of cayenne – just enough to tickle the palate.
Now, de‑glaze the pan with a splash of water, scraping up all the browned bits stuck to the bottom. Those bits are flavor gold; don’t let them go to waste. Once the liquid evaporates, pour in the beef broth (or the Worcestershire‑water mix) and let it simmer for 2 minutes, allowing the sauce to thicken slightly.
Transfer the meat mixture into a greased 9‑x‑13‑inch casserole dish. Spread it out evenly, making sure the surface is level – this ensures uniform baking. If you’re feeling adventurous, add a layer of cooked pasta or rice at this point; it will soak up the sauce beautifully.
Watch Out: Overfilling the dish can cause the casserole to spill over during baking, creating a mess. Keep the mixture about ¾ full.Sprinkle the shredded cheese blend generously over the top. Don’t be shy – the cheese creates that iconic golden crust that shatters like thin ice when you cut into it. For an extra crunch, toss a handful of panko breadcrumbs mixed with a drizzle of melted butter on top.
Place the dish in the preheated oven and bake for 20‑25 minutes, or until the cheese is bubbling and the edges are pulling away from the sides. The aroma at this stage will fill your entire house, making everyone wonder what’s cooking.
Remove the casserole from the oven and let it rest for 5 minutes. This short rest allows the juices to settle, preventing a soggy bottom and giving you cleaner slices. While you wait, set the table, pour a glass of iced tea, and admire your handiwork.
That’s it — you did it. But hold on, I've got a few more tricks that'll take this to another level…
Insider Tricks for Flawless Results
The Temperature Rule Nobody Follows
Most home cooks think “high heat = fast cooking,” but with casseroles you want a gentle, even bake. Keeping the oven at 375°F ensures the cheese melts slowly, forming that perfect crust without scorching. I once tried 425°F and ended up with a burnt top and undercooked interior – a disaster that taught me the value of patience.
Why Your Nose Knows Best
Your sense of smell is a more reliable indicator than a timer. When the cheese starts to turn a deep golden brown and you catch that buttery, toasted scent, you know the casserole is ready. Trust that nose; it’s the culinary equivalent of a built‑in timer.
The 5‑Minute Rest That Changes Everything
Letting the dish sit for five minutes after baking allows the steam to redistribute, giving you clean, defined slices. Skipping this step results in a soggy mess that slides off the fork. I always set a timer for the rest period – it’s a tiny habit that yields huge rewards.
The Secret Broth Splash
Adding a splash of broth right before the oven does more than keep things moist; it also lifts the caramelized bits from the pan, infusing the entire casserole with that deep, umami goodness. If you use a broth with herbs, you’ll get an extra layer of flavor without any extra effort.
Cheese Placement Mastery
Instead of dumping all the cheese on top, I recommend a two‑step approach: half mixed into the meat mixture and half on top. This creates a cheesy core that melts into the beef, while the top layer forms that coveted crust. It’s the difference between “cheesy” and “cheese‑explosion.”
Creative Twists and Variations
This recipe is a playground. Here are some of my favorite ways to switch things up:
Tex‑Mex Kick
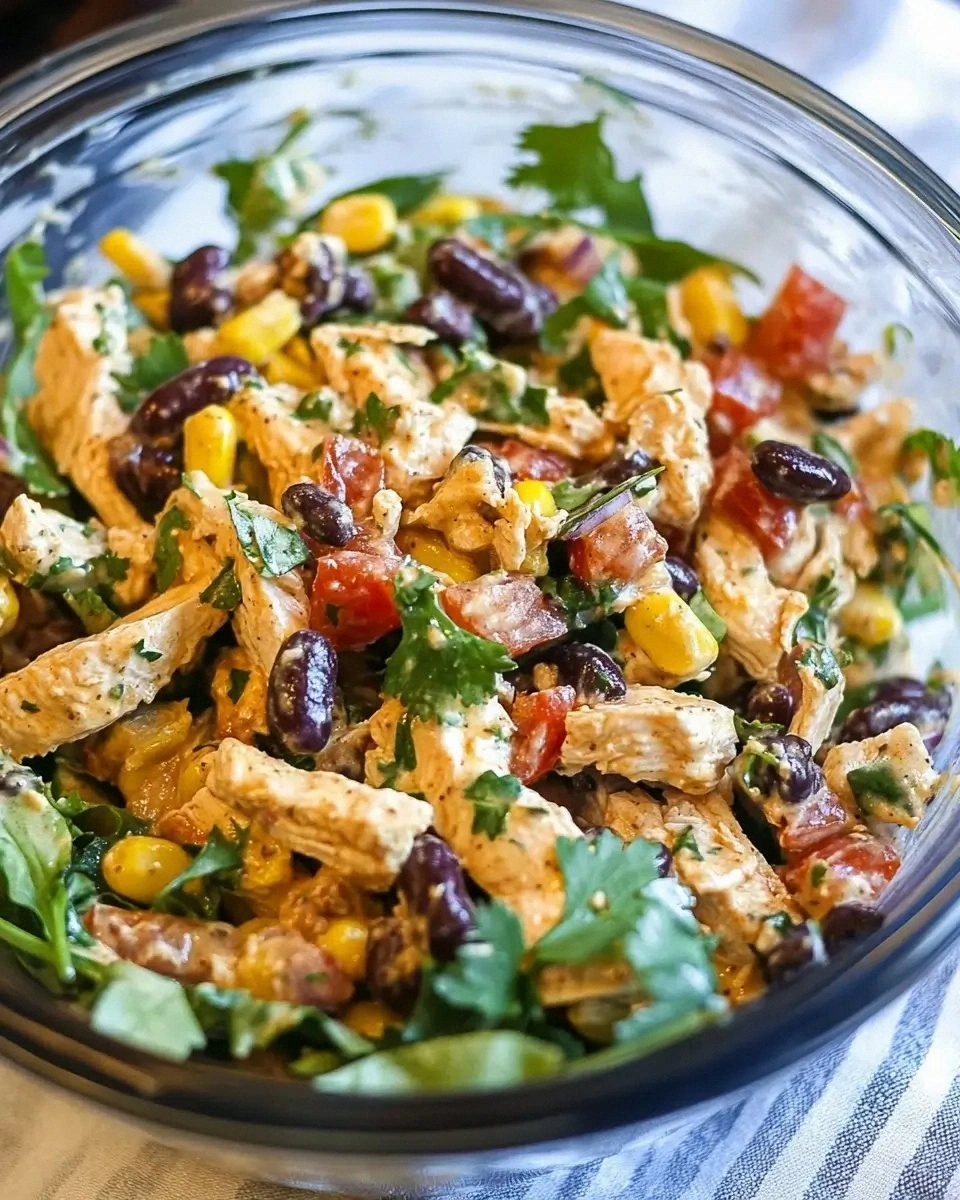
Swap the cheddar for pepper jack, stir in a cup of black beans, and sprinkle crushed tortilla chips on top before baking. The result is a crunchy, spicy casserole that pairs perfectly with guacamole.
Italian Comfort
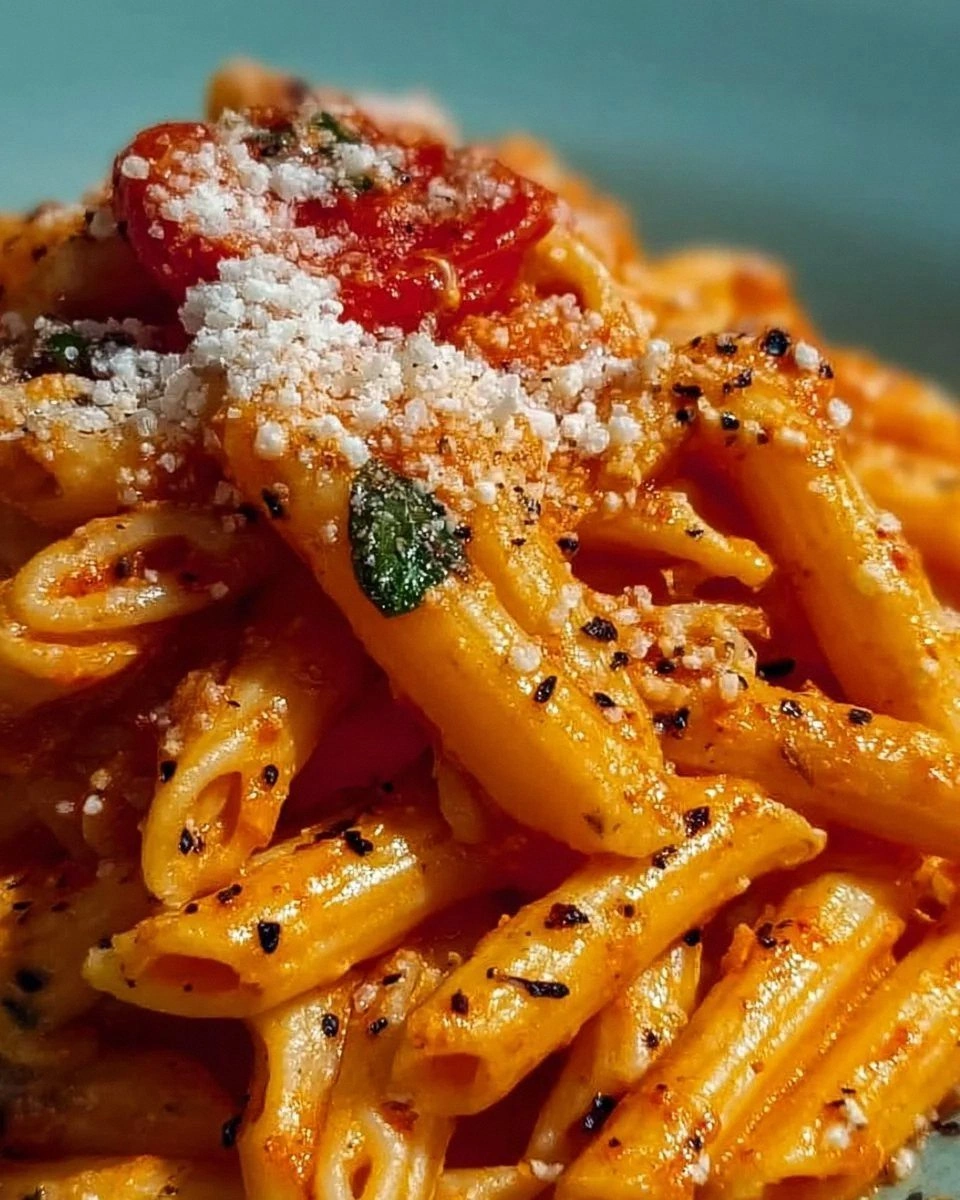
Add a splash of marinara sauce to the meat, fold in cooked penne, and use mozzarella and Parmesan for the cheese blend. Finish with fresh basil after baking for a fragrant, herbaceous twist.
Mediterranean Magic
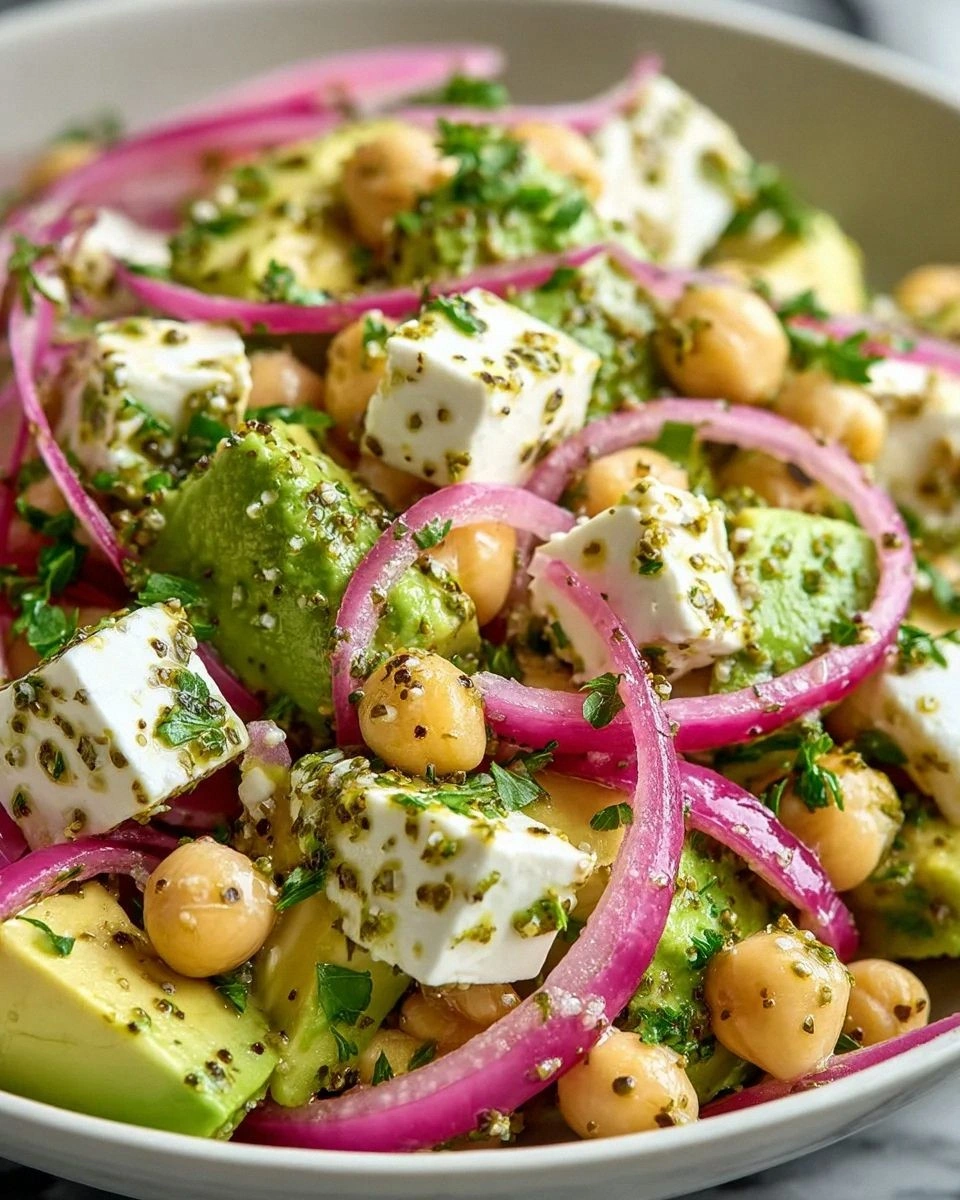
Incorporate sliced olives, sun‑dried tomatoes, and feta cheese. The salty, tangy notes elevate the simple beef‑onion base into a dish that feels exotic yet familiar.
Veggie‑Boosted
Stir in a cup of finely chopped spinach or kale during the sauté step. The greens add color, nutrition, and a subtle earthiness that balances the richness.
Breakfast Casserole Remix
Mix in scrambled eggs and hash browns, then top with cheddar and bake until the eggs set. It transforms the dish into a hearty brunch that will keep you fueled all day.
Storing and Bringing It Back to Life
Fridge Storage
Allow the casserole to cool to room temperature, then cover tightly with foil or plastic wrap. It will keep fresh for up to 4 days. When you’re ready to eat, reheat a slice in the microwave or oven – the latter preserves the crispy top.
Freezer Friendly
Portion the casserole into freezer‑safe containers, leaving a little space for expansion. Freeze for up to 3 months. To reheat, thaw overnight in the fridge, then bake at 350°F for 20‑25 minutes, adding a splash of water to revive the sauce.
Best Reheating Method
For the ultimate reheated slice, preheat your oven to 375°F, place the slice on a baking sheet, and cover with foil for the first 10 minutes. Remove the foil, add a tiny splash of water around the edges, and bake another 5‑7 minutes until the cheese crisps again. This steams the interior back to perfection while preserving the crust.