It was a Saturday night that started with a kitchen catastrophe: I was halfway through a batch of chocolate chips that had decided to split into two worlds—one half melted, the other half stayed stubbornly solid. I stared at the pot, the chocolate dripping like a slow, sweet river, and thought, “This is the moment to create something that will make my taste buds dance.” The aroma of cocoa, the buttery sheen of condensed milk, and the faint, nostalgic scent of marshmallow creme mingled in the air, creating a sensory symphony that made my eyes widen and my heart race. I could hear the sizzling as the butter began to pop, the subtle hiss of sugar caramelizing, and the faint pop of marshmallow fluff being stirred into the pot. I knew I was about to craft a dessert that would be remembered long after the last bite.
I remember the first spoonful of that silky, gooey mixture, the way it clung to the back of my tongue before dissolving into a cascade of chocolatey bliss. The texture was a paradox of creamy and chewy, a contrast that made each bite feel like a mini celebration. My friends who had come over for a casual gathering were immediately hooked, their eyes widening as they tasted the perfect blend of sweet and rich. I laughed, confessing that I had already eaten a third of the batch before anyone else could even get a taste. That moment was the spark that ignited my obsession with this recipe, turning a simple mishap into a culinary revelation.
This version of marshmallow swirl fudge is a game-changer because it strips away the fluff and focuses on pure, unapologetic flavor. By using high-quality semi-sweet chocolate chips and a jar of marshmallow creme that has a silky consistency, the final product achieves a luxurious mouthfeel that melts in seconds. The secret lies in the precise balance of ingredients: the condensed milk provides the needed sweetness, the butter adds depth, and the vanilla extract ties everything together with a subtle aroma. No fancy gadgets or complicated techniques—just a pot, a whisk, and a generous amount of confidence. I dare you to taste this and not go back for seconds; the first bite will set the bar for all future fudges.
What makes this recipe stand out is that it is hands down the best version you'll ever make at home. Most recipes get this completely wrong by either overcooking the chocolate or undercooking the marshmallow, resulting in a rubbery mess. I’ve spent years experimenting, and I’ve finally nailed the temperature that lets the chocolate melt into a glossy, velvety sauce while the marshmallow stays fluffy yet cohesive. The result is a fudge that glistens like a jewel, with swirls of marshmallow that pop against the rich chocolate background. Picture yourself pulling this out of the pot, the whole kitchen smelling incredible, and the sight of that glossy surface making your mouth water even before you taste it.
If you've ever struggled with making fudge that sticks together without becoming a sticky slab, you're not alone—and I've got the fix. The technique here is simple: heat the mixture just enough to bring the chocolate to a silky melt, then fold in the marshmallow gently to keep its airy structure. The vanilla extract, though a small component, adds a fragrant depth that elevates the entire dessert. This recipe is a playground; the only rule is to keep the heat moderate and the stirring steady. Let me walk you through every single step—by the end, you'll wonder how you ever made it any other way.
What Makes This Version Stand Out
- Flavor: The semi-sweet chocolate chips provide a deep, robust cocoa profile that balances the sweetness of the marshmallow. The result is a fudge that tastes like chocolate heaven without being cloying.
- Texture: The combination of condensed milk and butter creates a silky mouthfeel that melts instantly, while the marshmallow adds a light, airy bite that contrasts beautifully.
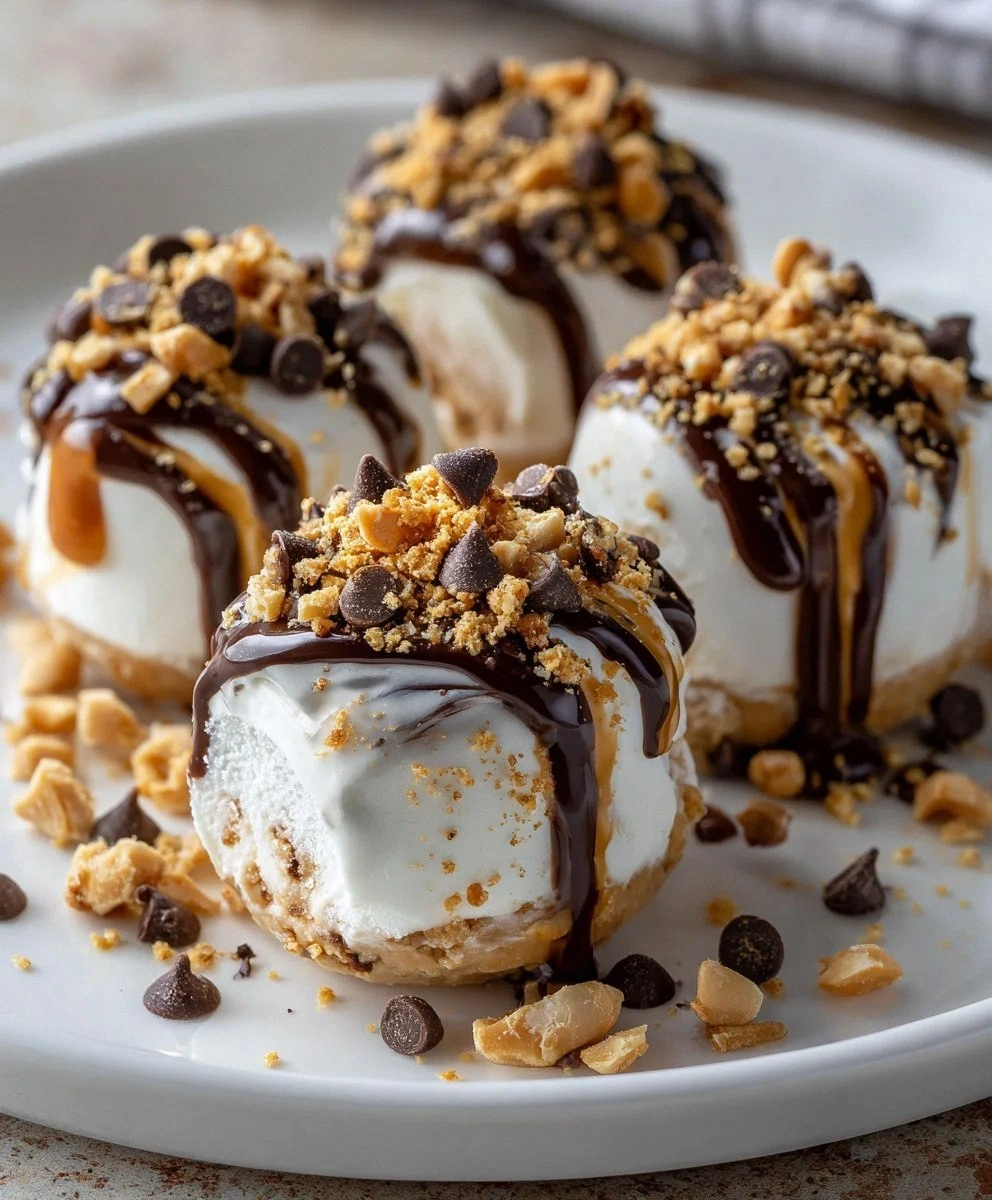
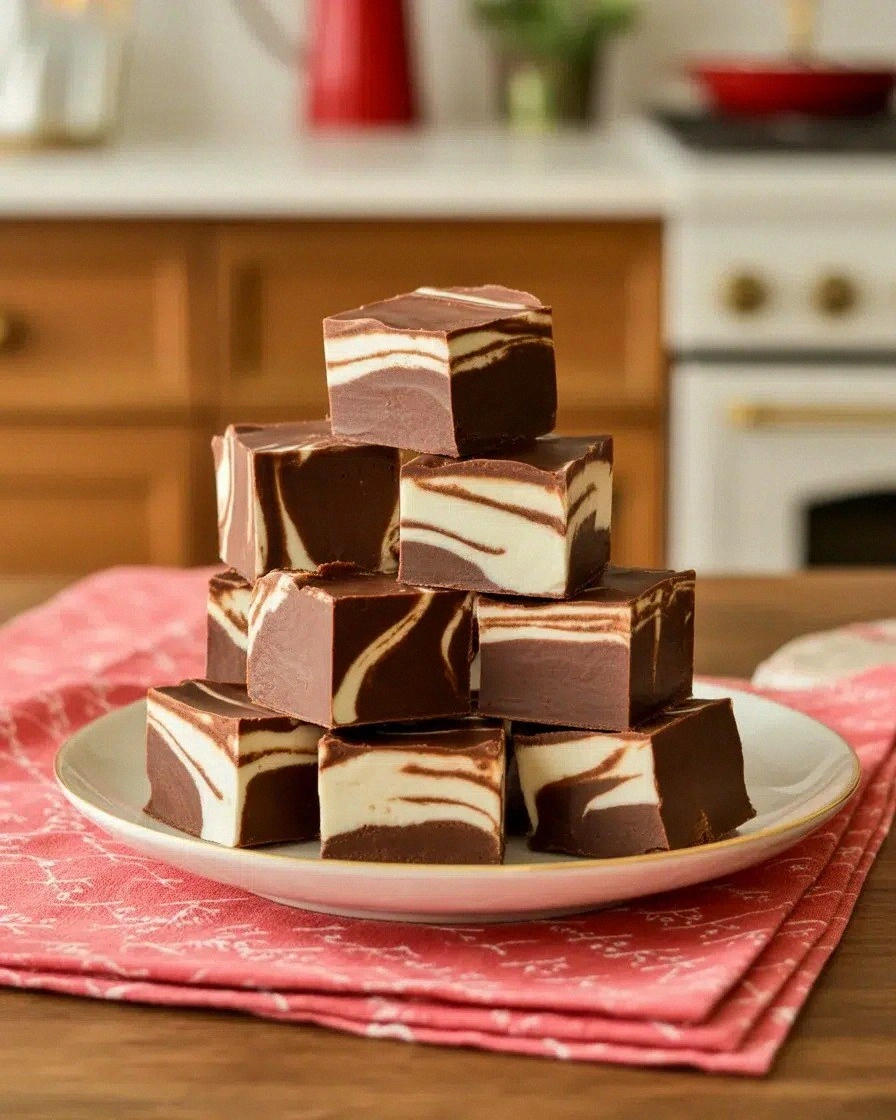
- Visual Appeal: The glossy glaze and swirling marshmallow ribbons give this fudge a professional finish, making it perfect for gifting or impressing guests.
- Ease: No separate sauce or complex steps—just a single pot, a whisk, and a few minutes of attention. The process is so straightforward that even a novice can master it.
- Ingredient Quality: Using premium chocolate chips and real marshmallow creme elevates the flavor profile and ensures consistency every time.
- Make-Ahead Friendly: Once set, the fudge stays fresh in the fridge for up to a week and can be frozen for longer storage without losing texture.
- Versatility: This base can be customized with nuts, dried fruit, or flavored extracts, allowing endless creative possibilities.
- Time Efficiency: The entire process takes less than 20 minutes from prep to finish, making it ideal for last-minute dessert cravings.
Inside the Ingredient List
The Flavor Base
Semi-sweet chocolate chips are the backbone of this fudge, delivering a rich cocoa flavor that is not overly sweet. Choosing a high-quality brand with a cocoa content of at least 60% ensures depth and reduces the need for extra sugar. If you prefer a darker, more intense bite, consider swapping in dark chocolate chips or even a mix of milk and dark varieties. Remember, the chocolate’s quality directly influences the final taste; a mediocre brand can make the entire dish feel flat.
The Texture Crew
Sweetened condensed milk is the secret to that luscious, creamy consistency. Its thick, syrupy nature keeps the fudge from drying out and gives it a silky mouthfeel. If you’re watching calories, a light or reduced-sugar version can be used, but expect a slightly less indulgent result. A splash of heavy cream can also be added to tweak the texture, making it even smoother.
The Unexpected Star
Marshmallow creme is the star that creates the signature swirls and airy pockets. Its light, fluffy texture contrasts the dense chocolate, giving each bite a delightful pop. For a healthier twist, look for a brand that uses natural sweeteners or consider making homemade marshmallow fluff. The jar’s size (7 oz) is perfect for a 4-serving batch; too little will result in a dense fudge, too much will make it overly sweet.
The Final Flourish
Vanilla extract ties all the flavors together, adding a warm, aromatic undertone that elevates the overall profile. A teaspoon is enough to infuse the fudge without overpowering the chocolate. If you’re feeling adventurous, swap vanilla for almond or coconut extract to give the fudge a subtle twist. The butter’s role is to add richness and help the mixture set with a glossy finish.
Everything's prepped? Good. Let's get into the real action and watch the magic unfold.
The Method — Step by Step
- Heat a medium saucepan over low heat and add the butter. Stir until the butter is fully melted and starts to bubble lightly, about 1–2 minutes. The butter’s aroma should become fragrant, signaling that it’s ready to mingle with the chocolate. Keep the heat low to prevent scorching.
- Add the chocolate chips to the pot, stirring constantly with a silicone spatula until they are completely melted and the mixture is a smooth, glossy liquid. This should take about 3–4 minutes. Watch for the chocolate to settle into a deep brown hue, indicating it’s at the right temperature.
- Pour in the sweetened condensed milk, whisking continuously until the mixture is uniform. The mixture should thicken slightly and take on a rich amber color. If the mixture looks too thick, add a splash of milk to thin it to a pourable consistency.
- Add the vanilla extract and stir for a few seconds. The vanilla’s aroma should fill the kitchen, signaling that the flavors are harmonizing. At this point, the mixture should be smooth and glossy, ready for the marshmallow.
- Fold in the marshmallow creme gently, using a spatula to create swirls. The mixture should look like a marbled cake with pockets of airy marshmallow. The key is to fold, not stir, to preserve the marshmallow’s lightness.
- Pour the mixture into a lined 8x8-inch pan and tap the pan gently on the counter to release any air bubbles. Let it sit at room temperature for 30 minutes, then refrigerate for at least 2 hours until firm. The fudge should be set but still soft enough to cut cleanly.
- Once set, cut the fudge into squares using a hot knife for clean edges. Serve immediately or store in an airtight container. If you’re planning ahead, wrap each square in parchment paper for easy portioning.
That's it — you did it. But hold on, I've got a few more tricks that'll take this to another level. The next section will reveal insider secrets that ensure every batch is flawless.
Insider Tricks for Flawless Results
The Temperature Rule Nobody Follows
Many bakers overheat chocolate, causing it to seize. Keep the pot over low heat and monitor the temperature with a candy thermometer; the ideal range is 110–115°F (43–46°C). Once the chocolate reaches this range, it will melt smoothly without forming grains. If you notice any signs of browning, remove the pot immediately.
Why Your Nose Knows Best
The aroma of chocolate melting is a reliable indicator of progress. A strong, sweet scent means the chocolate is fully melted, while a faint, metallic smell signals overheating. Trust your nose to guide you through the process, and you’ll avoid the dreaded gritty texture.
The 5-Minute Rest That Changes Everything
After adding the marshmallow, let the mixture sit for five minutes before pouring into the pan. This brief rest allows the flavors to meld and the marshmallow to soften, creating a smoother final product. Skipping this step can lead to uneven swirls and a slightly lumpy texture.
Use a Silicone Spatula for Smoothness
A silicone spatula is essential for scraping every corner of the pot. Its heat resistance and flexibility allow you to work with hot chocolate without burning yourself. This simple tool ensures that no chocolate is left behind, which could otherwise create pockets of uneven texture.
The Right Pan Matters
Choose a non-stick or well-seasoned pan to prevent sticking. A 9-inch square pan gives a slightly thicker fudge, while an 8-inch pan yields a thinner, easier-to-cut sheet. The pan’s material also affects how evenly the heat distributes across the surface.
Storing Secrets for Long-Term Freshness
Keep the fudge in an airtight container in the refrigerator to maintain its texture. If you plan to store it for more than a week, wrap each piece individually in parchment and place them in a freezer bag. When ready to enjoy, let the fudge thaw at room temperature for 10–15 minutes for optimal flavor.
Creative Twists and Variations
This recipe is a playground. Here are some of my favorite ways to switch things up:
Nutty Crunch
Stir in a cup of toasted pecans or chopped almonds before pouring the mixture into the pan. The nuts add a satisfying crunch that contrasts the smooth fudge. Serve with a drizzle of caramel for an extra indulgent touch.
Berry Burst
Fold in a handful of dried cranberries or freeze-dried strawberries for a burst of tartness. The berries complement the sweetness and add a pop of color. Let the fudge set, then garnish with fresh berries for a festive look.
Minty Delight
Replace the vanilla extract with a splash of peppermint extract. The mint undertone gives the fudge a refreshing twist, especially during holiday seasons. Pair it with a dusting of cocoa powder for a classic peppermint chocolate treat.
Salted Caramel Swirl
Swirl in a layer of salted caramel sauce before the marshmallow. The caramel’s buttery sweetness and subtle salt contrast the rich chocolate, creating a sophisticated flavor profile. Sprinkle sea salt on top after the fudge sets for an extra kick.
Coffee Infusion
Add a tablespoon of instant espresso powder to the chocolate mixture. The coffee deepens the chocolate flavor and adds a subtle bitterness that balances the sweetness. This version is perfect for coffee lovers who crave a decadent dessert.
Coconut Cream
Replace half the condensed milk with coconut milk for a tropical twist. The coconut flavor pairs wonderfully with the marshmallow and chocolate, giving the fudge a light, exotic aroma. Finish with toasted coconut flakes for a delightful texture.
Storing and Bringing It Back to Life
Fridge Storage
Store the fudge in an airtight container at room temperature for up to 5 days. Keep it in a cool, dry place away from direct sunlight to preserve its texture. If you notice a slight crust forming, simply wrap the piece in parchment before serving.
Freezer Friendly
Wrap each piece individually in parchment paper and place them in a freezer bag. Freeze for up to 3 months. When you’re ready to enjoy, let the fudge thaw at room temperature for 20–30 minutes; this restores its creamy interior.
Best Reheating Method
Reheat a single piece in the microwave on low power for 10–15 seconds, or warm it in a heatproof bowl over simmering water. Add a tiny splash of water before reheating to steam the fudge back to its original silky texture. Avoid overheating to keep the chocolate from separating.